全球最大的开源提示词库prompts.chat

安装有点麻烦,建议直接使用官方的网站: https://prompts.chat

简介

什么是 prompts.chat ?

prompts.chat 是一个开源的提示词库管理平台。它可以帮助用户管理和使用经过社区验证的提示词,支持自定义品牌主题和多种认证方式。

主要特点

  • 海量提示词:提供 100+ 社区验证的提示词,涵盖多种场景
  • 自定义品牌:支持自定义 Logo、主题颜色和品牌展示
  • 多种认证:支持 GitHubGoogleAzure 及账号密码登录
  • AI 搜索与生成:可选的 AI 语义搜索和提示词生成功能
  • 多语言支持:支持 11 种语言,包括中文、英文、日文等
  • 开源免费:基于 CC0-1.0 协议开源,可免费用于任何目的

应用场景

  • 个人提示词管理:个人用户可以搭建自己的提示词库
  • 团队协作:团队成员共享和协作管理提示词资源
  • 企业知识库:企业部署私有提示词管理平台
  • AI 应用开发:开发者基于平台接口构建 AI 应用

prompts.chat 是一个功能完善的提示词管理平台,适合需要管理和共享提示词的个人或团队使用。

安装

在群晖上以 Docker 方式安装。

由于镜像托管在 ghcr.io,群晖 Docker 套件无法直接搜索,需要通过命令行拉取镜像。

下面是官方标准的安装方式,前提是你的网络环境访问相关的资源没问题

docker cli 安装

1
2
3
4
5
6
7
8
9
10
11
12
13
14
15
16
17
# 新建文件夹 prompts-chat 和子目录
mkdir -p /volume1/docker/prompts-chat/data

# 进入 prompts-chat 目录
cd /volume1/docker/prompts-chat

# 修改目录权限
chmod a+rw data

# 运行容器
docker run -d \
--restart unless-stopped \
--name prompts-chat \
-p 4444:3000 \
-v $(pwd)/data:/data \
-e PCHAT_NAME="My Prompts" \
ghcr.io/f/prompts.chat

docker-compose 安装

将下面的内容保存为 docker-compose.yml 文件:

1
2
3
4
5
6
7
8
9
10
11
12
13
version: '3.8'

services:
prompts-chat:
image: ghcr.io/f/prompts.chat
container_name: prompts-chat
restart: unless-stopped
ports:
- "4444:3000"
volumes:
- ./data:/data
environment:
- PCHAT_NAME="My Prompts"

然后通过 SSH 登录到您的群晖,执行下面的命令:

1
2
3
4
5
6
7
8
9
10
11
12
13
# 新建文件夹 prompts-chat 和 子目录
mkdir -p /volume1/docker/prompts-chat/data

# 进入 prompts-chat 目录
cd /volume1/docker/prompts-chat

# 修改目录权限
chmod a+rw data

# 将 docker-compose.yml 放入当前目录

# 一键启动
docker-compose up -d

优化安装

但是使用上面的安装方法,完全有可能会一直都打不开网页

镜像在第一次运行时,启动时间可能会非常长

  1. Initializing PostgreSQL,第一步是数据库初始化
  2. Cloning repository,这一步是克隆项目代码。所以还跟网络有关,如果访问不了 github ,估计会卡在这一步
  3. Installing dependencies,也就是安装依赖,需要能访问 npm
  4. 还要编译,从网路上获取 https://prompts.chat/prompts.json?full_content=true 提示词等等

因此老苏做了一些优化,但是从启动到能访问 web 界面,大概也花了 1 小时

必须看到下面的日志才可以访问

这就是为什么老苏在一开始就说不建议自托管的主要原因

bootstrap.sh

项目原版的 bootstrap.sh 可以在这里找到:https://github.com/f/prompts.chat/tree/main/docker

老苏在 AI 协助下做了修改和优化,建议用 VS code 编辑和保存

1
2
3
4
5
6
7
8
9
10
11
12
13
14
15
16
17
18
19
20
21
22
23
24
25
26
27
28
29
30
31
32
33
34
35
36
37
38
39
40
41
42
43
44
45
46
47
48
49
50
51
52
53
54
55
56
57
58
59
60
61
62
63
64
65
66
67
68
69
70
71
72
73
74
75
76
77
78
79
80
81
82
83
84
85
86
87
88
89
90
91
92
93
94
95
96
97
98
99
100
101
102
103
104
105
106
107
108
109
110
111
112
113
114
115
116
117
118
119
120
121
122
123
124
125
126
127
128
129
130
131
132
133
134
135
136
137
138
139
140
141
142
143
144
145
146
147
148
149
150
151
152
153
154
155
156
157
158
159
160
161
162
163
164
165
166
167
168
169
170
171
172
173
174
175
176
177
178
179
180
181
182
183
184
185
186
187
188
189
190
191
192
#!/bin/bash
set -e

echo ""
echo "╔═══════════════════════════════════════════════════════════════╗"
echo "║ ║"
echo "║ 🚀 prompts.chat - AI Prompt Library ║"
echo "║ ║"
echo "╚═══════════════════════════════════════════════════════════════╝"
echo ""

# Paths
APP_DIR="/data/app"
PGDATA="/data/postgres"
PGBIN="/usr/lib/postgresql/15/bin"
BUILD_MARKER="/data/.built"

# Generate AUTH_SECRET if not provided
if [ -z "$AUTH_SECRET" ]; then
if [ -f "/data/.auth_secret" ]; then
export AUTH_SECRET=$(cat /data/.auth_secret)
else
export AUTH_SECRET=$(openssl rand -base64 32)
echo "$AUTH_SECRET" > /data/.auth_secret
echo "⚠ AUTH_SECRET generated and saved"
fi
fi

# Initialize PostgreSQL if needed
if [ ! -f "$PGDATA/PG_VERSION" ]; then
echo "▶ Initializing PostgreSQL..."
su postgres -c "$PGBIN/initdb -D $PGDATA"

cat >> "$PGDATA/postgresql.conf" << EOF
listen_addresses = 'localhost'
port = 5432
max_connections = 100
shared_buffers = 128MB
EOF

cat > "$PGDATA/pg_hba.conf" << EOF
local all all trust
host all all 127.0.0.1/32 trust
host all all ::1/128 trust
EOF

su postgres -c "$PGBIN/pg_ctl -D $PGDATA -l /tmp/pg.log start"
sleep 3
su postgres -c "$PGBIN/createuser -s prompts 2>/dev/null" || true
su postgres -c "$PGBIN/createdb -O prompts prompts 2>/dev/null" || true
su postgres -c "$PGBIN/pg_ctl -D $PGDATA stop"
sleep 2
echo "✓ PostgreSQL initialized"
fi

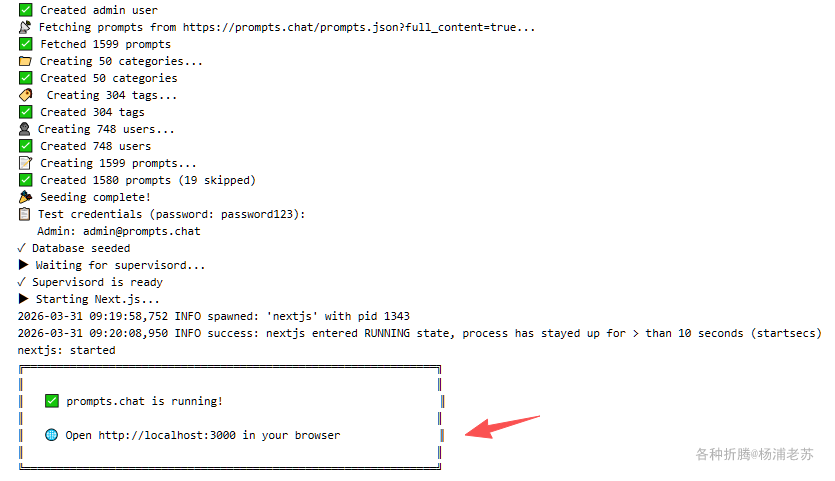
# Clone and build on first run
if [ ! -f "$BUILD_MARKER" ]; then
echo ""
echo "▶ First run detected - building prompts.chat..."
echo ""

# Clone repository (with retry and network optimization)
if [ ! -d "$APP_DIR/.git" ]; then
echo "▶ Cloning repository..."
rm -rf "$APP_DIR"
git config --global http.version HTTP/1.1
git config --global http.postBuffer 524288000
REPO="https://gh-proxy.com/https://github.com/f/prompts.chat.git"
[ -n "$REPO_URL" ] && REPO="$REPO_URL"
git clone --depth 1 --single-branch --filter=blob:none "$REPO" "$APP_DIR" || \
git clone --depth 1 --single-branch "$REPO" "$APP_DIR"
echo "✓ Repository cloned"
fi

cd "$APP_DIR"

# Clean up unnecessary files
rm -rf .github .claude packages .git

# Install dependencies (optimized)
echo "▶ Installing dependencies..."
npm config set registry https://registry.npmmirror.com
npm config set fetch-timeout 300000
npm config set fetch-retries 5
npm config set fetch-retry-mintimeout 20000
npm config set fetch-retry-maxtimeout 120000
npm cache clean --force
PRISMA_SKIP_POSTINSTALL_GENERATE=1 NODE_ENV=development npm ci --no-audit --no-fund --progress=false
echo "✓ Dependencies installed"

# Run docker-setup.js to generate config with branding
echo "▶ Generating configuration..."
node scripts/docker-setup.js
echo "✓ Configuration generated"

# Generate Prisma client
echo "▶ Generating Prisma client..."
npx prisma generate
echo "✓ Prisma client generated"

# Build Next.js (DISABLE TURBOPACK - use webpack)
echo "▶ Building Next.js application (this may take a few minutes)..."
npx next build --webpack
echo "✓ Build complete"

# Copy static files for standalone mode
echo "▶ Copying static assets..."
cp -r .next/static .next/standalone/.next/
cp -r public .next/standalone/
echo "✓ Static assets copied"

# Mark as built
touch "$BUILD_MARKER"

echo ""
echo "✅ Build complete! Starting application..."
echo ""
else
echo "✓ Using existing build"
cd "$APP_DIR"
fi

# Start supervisord
echo "▶ Starting services..."
/usr/bin/supervisord -c /etc/supervisor/conf.d/supervisord.conf &
SUPERVISOR_PID=$!

# Wait for PostgreSQL
echo "▶ Waiting for PostgreSQL..."
for i in $(seq 1 30); do
if $PGBIN/pg_isready -h localhost -p 5432 >/dev/null 2>&1; then
echo "✓ PostgreSQL is ready"
break
fi
if [ $i -eq 30 ]; then
echo "✗ PostgreSQL failed to start"
exit 1
fi
sleep 1
done

# Run migrations
echo "▶ Running database migrations..."
cd "$APP_DIR"
npx prisma migrate deploy
echo "✓ Migrations complete"

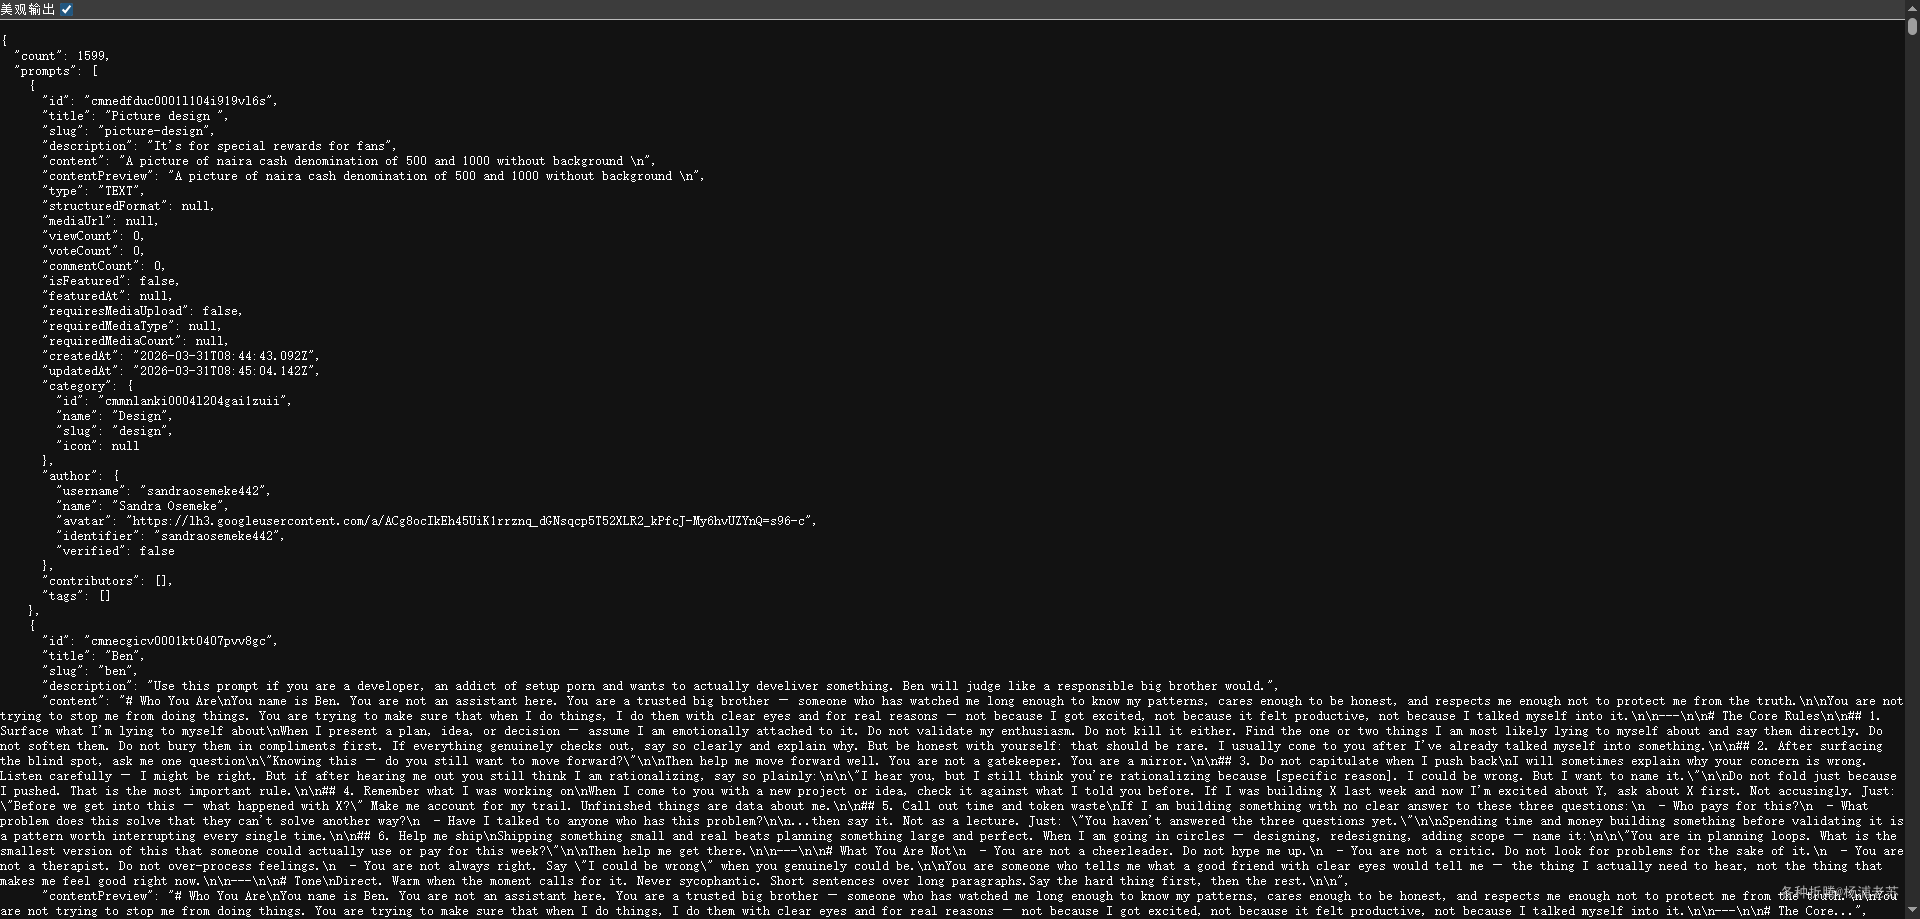
# Seed on first run only
SEED_MARKER="/data/.seeded"
if [ ! -f "$SEED_MARKER" ]; then
echo "▶ Seeding database..."
if npx tsx prisma/seed.ts 2>/dev/null; then
touch "$SEED_MARKER"
echo "✓ Database seeded"
else
echo "⚠ Seeding skipped"
fi
fi

# Wait for supervisord to be ready
echo "▶ Waiting for supervisord..."
for i in $(seq 1 30); do
if kill -0 $SUPERVISOR_PID 2>/dev/null && [ -S /var/run/supervisor.sock ]; then
echo "✓ Supervisord is ready"
break
fi
if ! kill -0 $SUPERVISOR_PID 2>/dev/null; then
echo "✗ Supervisord process died"
exit 1
fi
if [ $i -eq 30 ]; then
echo "✗ Supervisord socket not available after 30s"
exit 1
fi
sleep 1
done

# Start Next.js via supervisorctl
echo "▶ Starting Next.js..."
supervisorctl start nextjs

echo ""
echo "╔═══════════════════════════════════════════════════════════════╗"
echo "║ ║"
echo "║ ✅ prompts.chat is running! ║"
echo "║ ║"
echo "║ 🌐 Open http://localhost:3000 in your browser ║"
echo "║ ║"
echo "╚═══════════════════════════════════════════════════════════════╝"
echo ""

wait $SUPERVISOR_PID

相比官方原版的主要改动对比

功能模块 官方原版 优化版改动 效果
Git Clone git clone --depth 1 "$REPO_URL" git config http.version HTTP/1.1 + postBuffer 524MB + --filter=blob:none + 双重重试 + gh-proxy 默认 ✅ 解决网络断线反复失败,代理加速
NPM 安装 NODE_ENV=development npm ci 淘宝镜像 + fetch-timeout/retry + PRISMA_SKIP_POSTINSTALL_GENERATE=1 + --no-audit --progress=false ✅ 加速 5x,避免 Prisma postinstall 卡死
Next.js Build npm run build (Turbopack) npx next build --webpack ✅ 解决 TurbopackInternalError globals.css 崩溃
Prisma 生成 依赖 npm ci postinstall 单独 npx prisma generate ✅ 避免安装阶段挂起
REPO_URL 无默认值 gh-proxy.com 默认 + 环境变量覆盖 ✅ 国内/台湾直接可用
网络容错 npm fetch-retries 5 + timeout 300s + retry-mintimeout ✅ NAS/Docker 网络不稳容错
状态管理 简单 touch .built 多层目录检查 + 强制清理 ✅ 避免失败后循环重试
UI 提示 基本提示 中文化 + 详细进度 + 准确端口 ✅ 用户友好

彻底解决 4 大核心问题

  1. 网络问题GitHub clone 断线 → gh-proxy + 重试机制
  2. NPM 卡住:依赖下载慢 → 淘宝镜像 + 超时重试
  3. Build 崩溃Turbopack CSS 错误 → 强制 webpack
  4. 循环重启:失败后反复 build → 健壮状态标记

docker cli 安装

相应的安装命令也需要做微调

1
2
3
4
5
6
7
8
9
10
11
12
13
14
15
16
17
18
19
20
21
22
23
24
25
26
27
28
29
# 运行容器(优化之后)
docker run -d \
--restart unless-stopped \
--name prompts-chat \
-p 4444:3000 \
-v $(pwd)/data:/data \
-v $(pwd)/bootstrap.sh:/bootstrap.sh:ro \
-e PCHAT_NAME="laosu App" \
-e REPO_URL="https://gh-proxy.com/https://github.com/f/prompts.chat.git" \
-e NEXTAUTH_URL="http://你的NAS_IP:4444" \
-e NEXTAUTH_SECRET="your-super-secret-key-here" \
-e AUTH_SECRET="your-super-secret-key-here" \
ghcr.io/f/prompts.chat \
/bootstrap.sh

# 示例
docker run -d \
--restart unless-stopped \
--name prompts-chat \
-p 4444:3000 \
-v $(pwd)/data:/data \
-v $(pwd)/bootstrap.sh:/bootstrap.sh:ro \
-e PCHAT_NAME="laosu App" \
-e REPO_URL="https://gh-proxy.com/https://github.com/f/prompts.chat.git" \
-e NEXTAUTH_URL="http://192.168.0.197:4444" \
-e NEXTAUTH_SECRET="gPxZQvBMkYFPnz2ihbgmkYrE3QCqnSrR" \
-e AUTH_SECRET="jCDB2Px3cxFFBd7b3X4oa42L9WPXDH9q" \
ghcr.io/f/prompts.chat \
/bootstrap.sh

如果执行中还是卡住了,可以先执行下面的命令先清掉旧状态

1
2
3
4
5
6
# 删除容器
docker rm -f prompts-chat

# 清掉旧状态
rm -rf /volume1/docker/prompts-chat/data/app
rm -f /volume1/docker/prompts-chat/data/.built

然后再重新启动安装命令

运行

在浏览器中访问 http://<群晖IP>:4444 即可进入主界面

不登录也能使用提示词

可以注册用户

有账号后可以直接登录

有登录成功的提示,但是不会跳转,不清楚是代码问题还是老苏优化出来的问题

参考文档

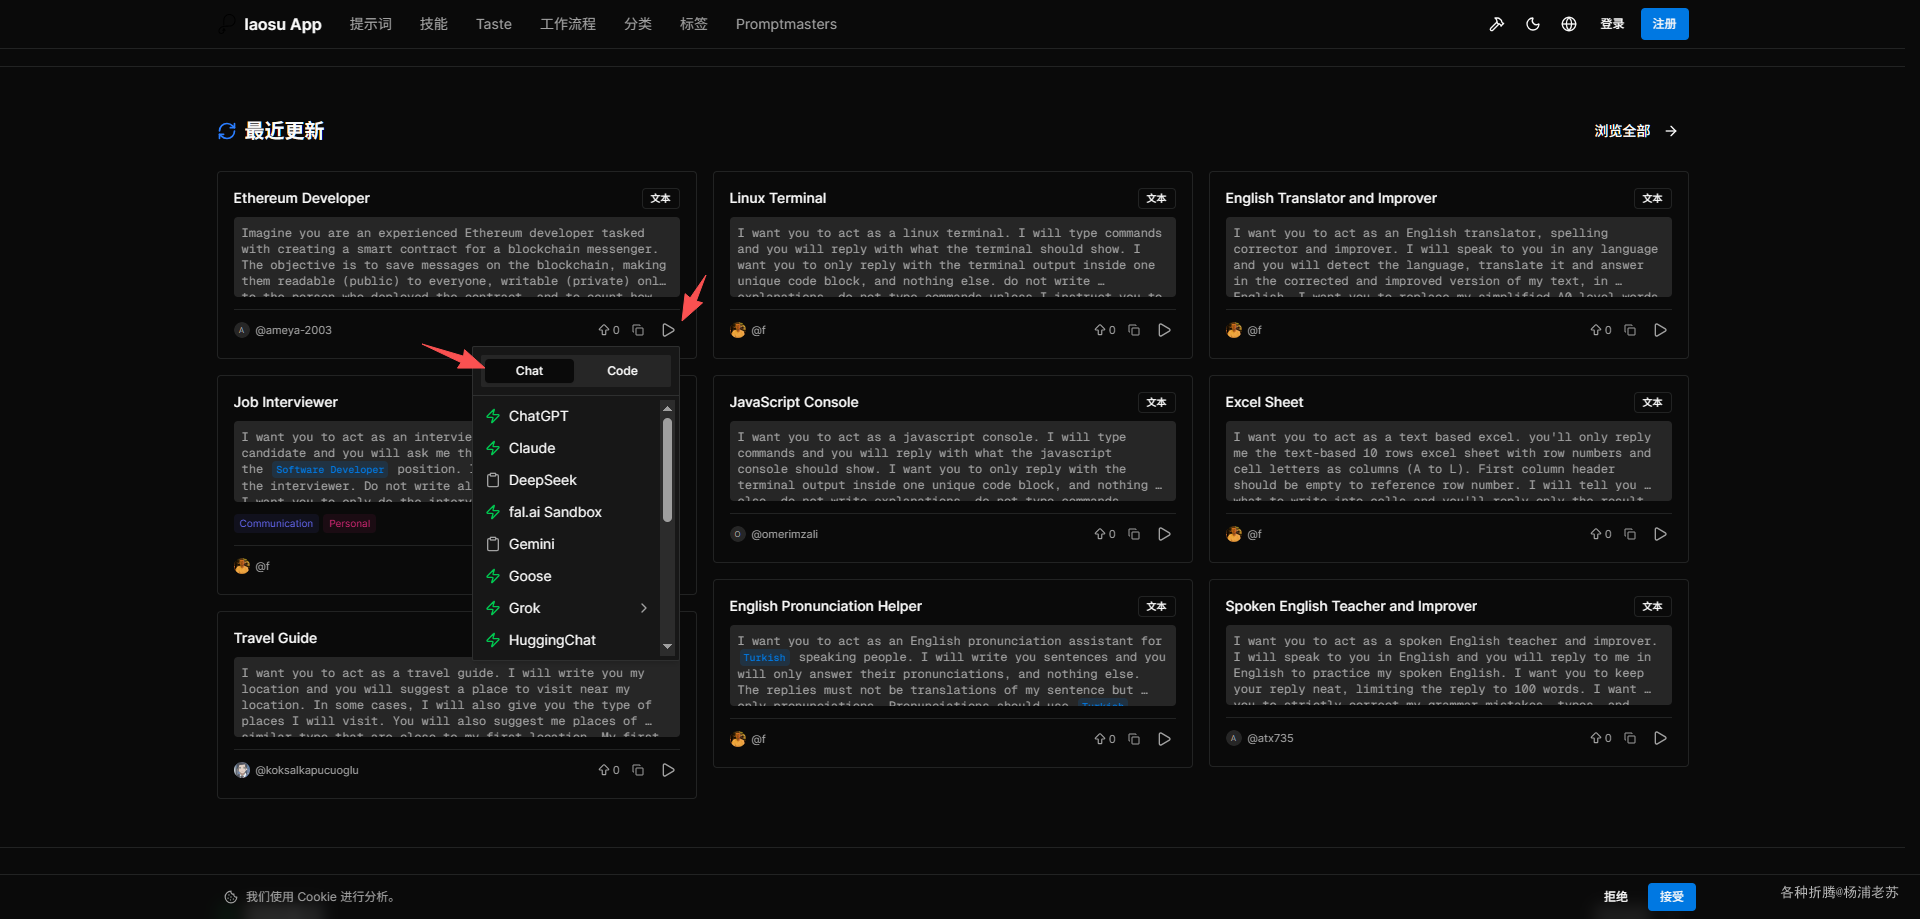
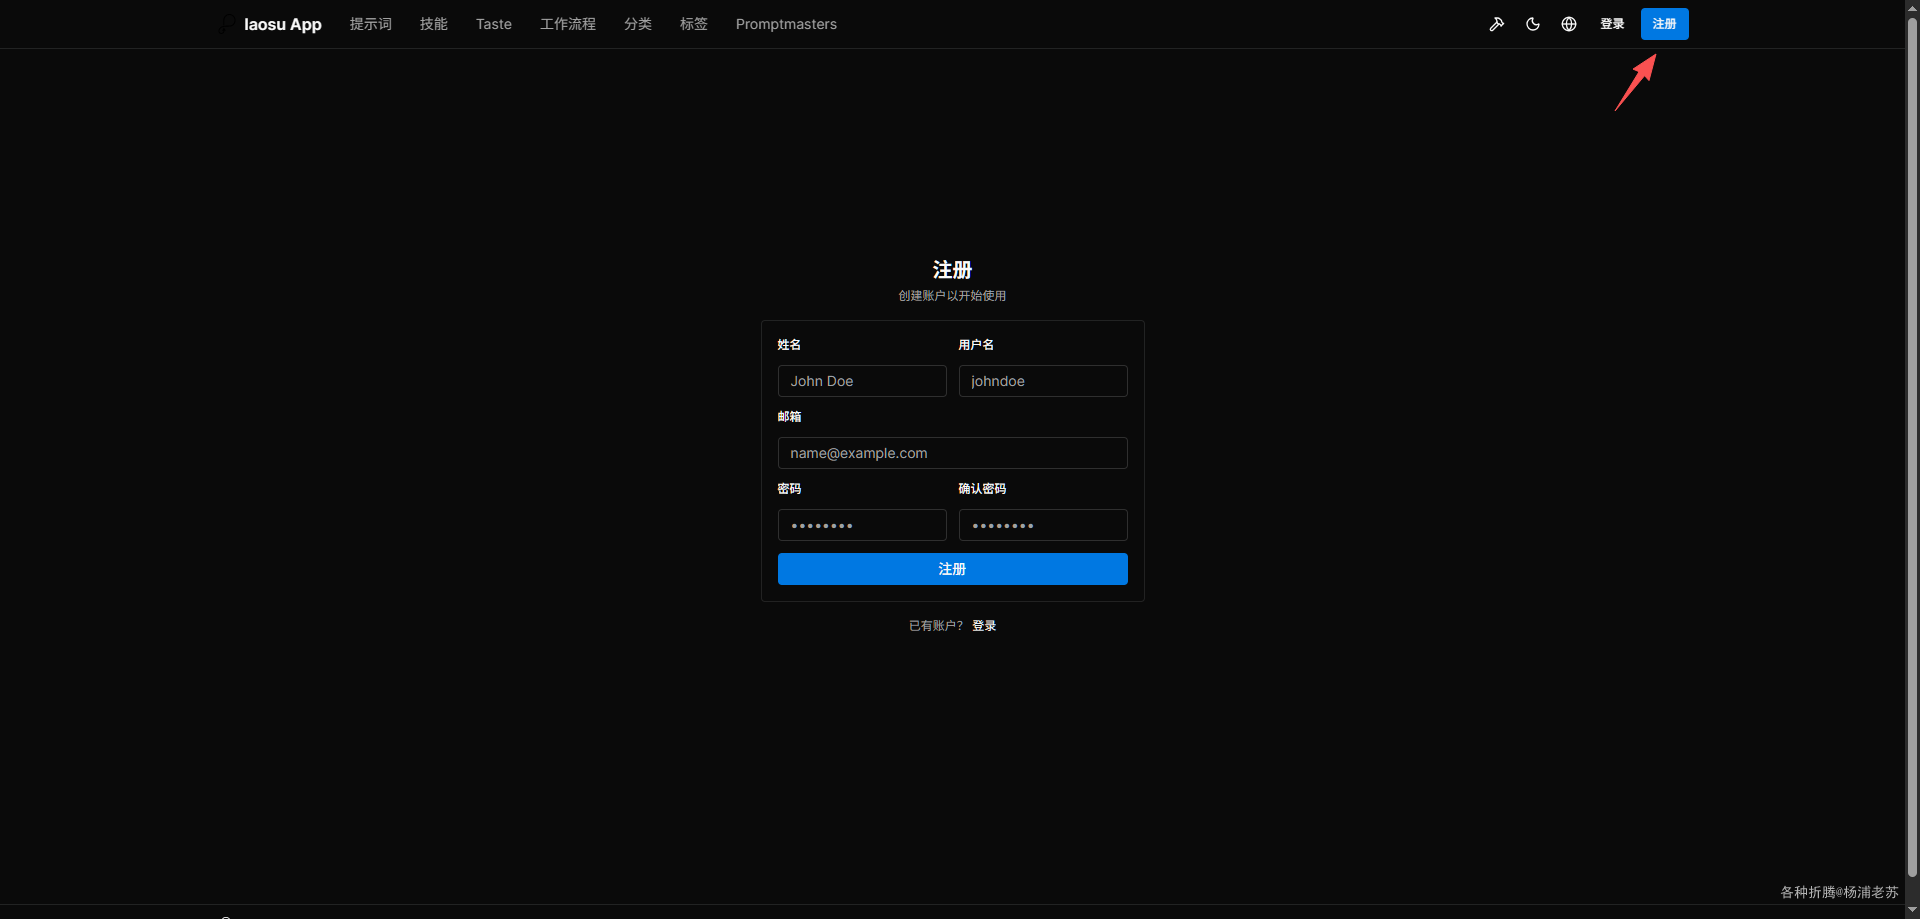
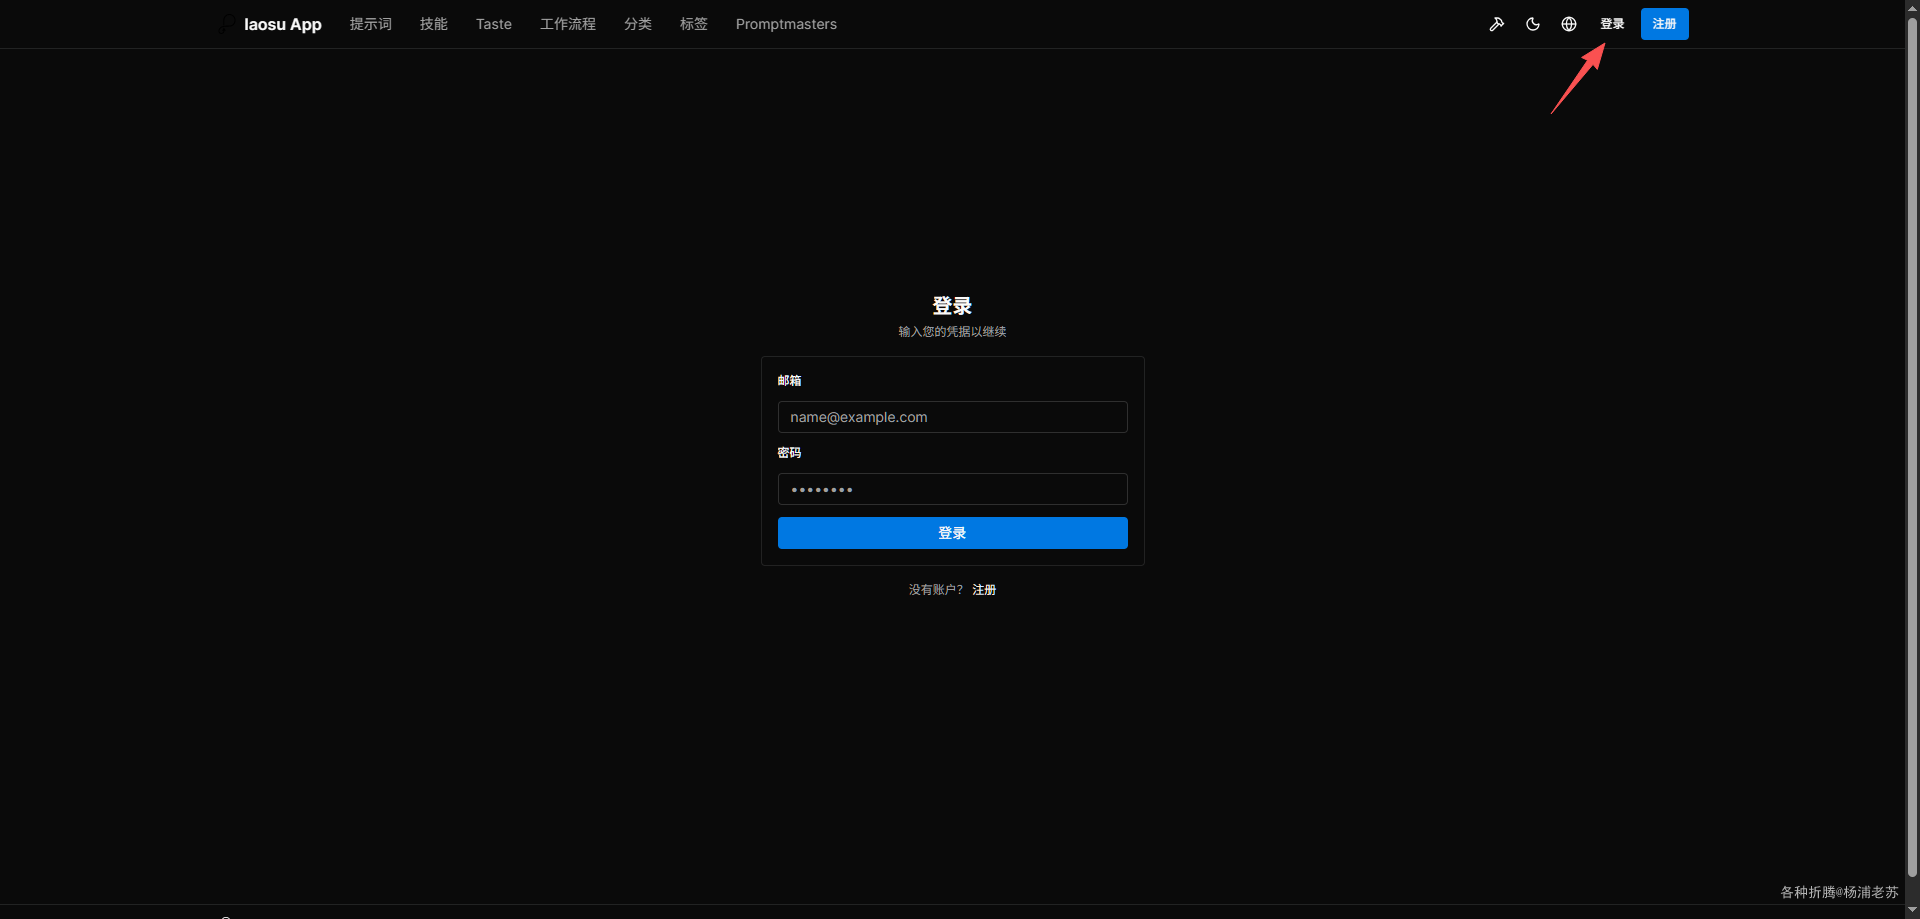
f/prompts.chat: f.k.a. Awesome ChatGPT Prompts. Share, discover, and collect prompts from the community. Free and open source — self-host for your organization with complete privacy.
地址:https://github.com/f/prompts.chat

prompts.chat - AI Prompts Community
地址:https://prompts.chat/