开源云文件存储服务器MyDrive
简介
什么是 myDrive ?
myDrive是一个开源的、可自托管的云文件存储解决方案,类似于Google Drive。它允许用户通过现代化的Web界面访问、上传和下载文件与文件夹,支持文件分享、媒体库、PWA,并使用AES-256对静态文件进行加密。后端使用Node.js和MongoDB,为你提供一个安全、私有的个人云平台。
主要特点
- 文件管理:支持文件和文件夹的上传与下载(文件夹会自动打包为
zip)。 - 媒体支持:内置照片和视频查看器,并能自动生成缩略图。
- 文件分享:可以为文件生成分享链接。
- PWA 支持:支持渐进式网络应用,可将应用“安装”到桌面或手机主屏幕,提供接近原生的体验。
- 安全加密:使用
AES-256对存储的文件进行加密,并依赖JWT进行身份验证。 - 跨平台:基于
Node.js,支持Docker一键部署,可在多种平台上运行。 - 用户管理:支持电子邮件验证和新账户创建限制。
应用场景
- 搭建家庭或个人媒体中心,用于存储和随时访问照片、视频。
- 作为小型团队内部的文件共享和协作平台。
- 替代商业云存储服务(如
Google Drive,Dropbox),将数据完全掌握在自己手中。 - 为开发者提供一个可集成、可扩展的私有云存储后端服务。
myDrive 是一个功能强大且灵活的云存储解决方案,适合需要安全文件管理的个人和组织使用。
安装
在群晖上以 Docker 方式安装。
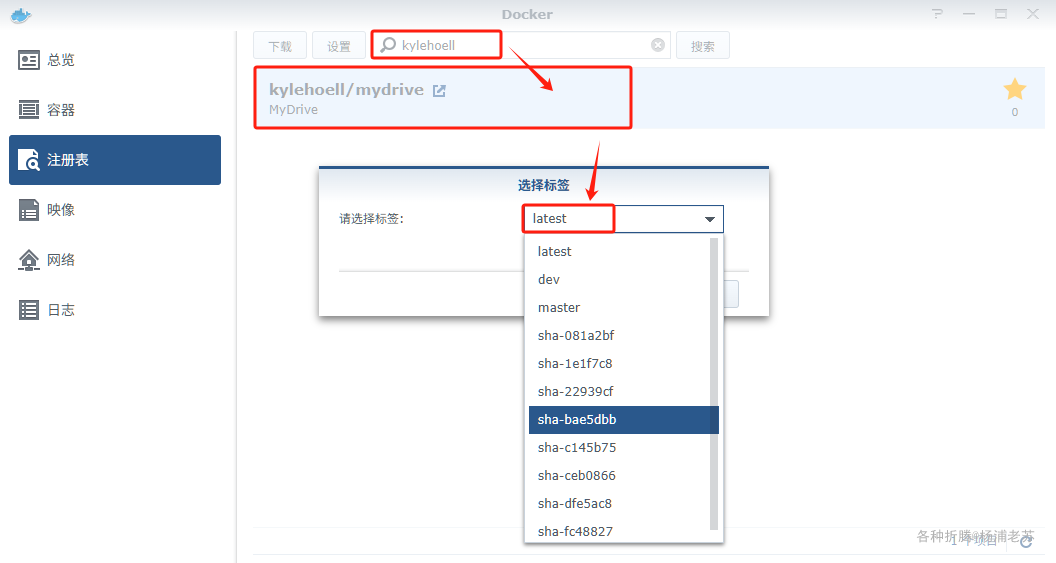
在注册表中搜索 kylehoell ,选择第一个 kylehoell/mydrive,版本选择 latest。
本文写作时,
latest版本对应为sha-bae5dbb
myDrive 由应用本身和 mongo 数据库两个服务组成,因此推荐使用 docker-compose 进行部署
准备工作
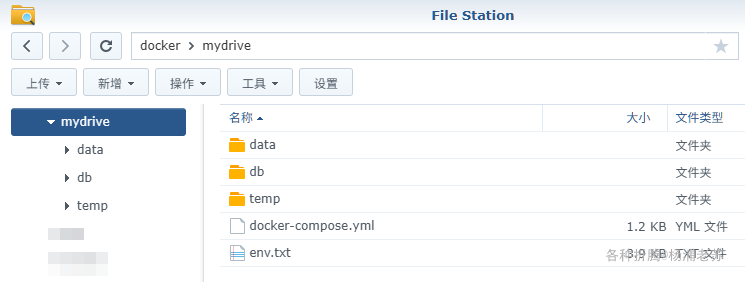
在 docker 文件夹中,创建一个新文件夹 mydrive,并在其中再创建三个子文件夹:data, temp, db。
1 | # 创建主文件夹 mydrive 和子目录 |
data: 用于存放myDrive上传的文件temp: 用于存放临时文件,例如生成视频缩略图时db: 用于存放MongoDB数据库文件
配置文件
进入 mydrive 目录,我们需要创建两个核心文件:docker-compose.yml 和 env.txt
1 | # 进入 mydrive 目录 |
env.txt
这是 myDrive 的环境变量文件,用于配置数据库连接、加密密钥等关键信息。
下面的示例基于官方的 .env.example ,源文件地址:https://github.com/subnub/myDrive/blob/master/.env.example
将以下内容粘贴到 env.txt 文件中,建议根据你的设置进行修改
1 | # If you are using Docker, set DOCKER=true |
!!!重要提示:
MONGODB_URL文件中的username和password必须与docker-compose.yml中的数据库用户和密码完全一致。KEY是用于加密所有文件的密钥,一旦设置,绝对不能丢失或更改,否则所有已上传的文件将无法解密!PASSWORD_ACCESS,PASSWORD_REFRESH,PASSWORD_COOKIE这三个值也必须修改,它们是保证账户安全的关键。
下表详细列出了每个环境变量的名称及其描述,便于理解 myDrive 应用的配置选项
| 环境变量 | 描述 |
|---|---|
DOCKER |
设置为 true 表示应用在 Docker 中运行 |
MONGODB_URL |
MongoDB 数据库的连接字符串,格式为 mongodb://username:password@mongo:27017/mydrive?authSource=admin |
DB_TYPE |
数据库类型,选择存储文件的位置,选项为 fs(文件系统)或 s3(Amazon S3) |
FS_DIRECTORY |
如果使用文件系统存储,指定文件存储目录,必须以斜杠结尾,例如 /home/kyle/mydrive/ |
S3_ID |
如果使用 S3 存储,指定 S3 的访问 ID |
S3_KEY |
如果使用 S3 存储,指定 S3 的密钥 |
S3_BUCKET |
如果使用 S3 存储,指定 S3 存储桶的名称 |
KEY |
用于加密文件的密钥(可选),如果丢失将无法恢复数据 |
PASSWORD_ACCESS |
访问令牌,随机生成的字符串,用于用户认证 |
PASSWORD_REFRESH |
刷新令牌,随机生成的字符串,用于刷新用户会话 |
PASSWORD_COOKIE |
Cookie 令牌,随机生成的字符串,用于用户会话管理 |
VIDEO_THUMBNAILS_ENABLED |
是否启用视频缩略图生成,依赖于 ffmpeg 工具 |
TEMP_DIRECTORY |
生成视频缩略图时的临时存储目录,必须以斜杠结尾 |
TEMP_VIDEO_THUMBNAIL_LIMIT |
视频缩略图的最大大小(字节) |
BLOCK_CREATE_ACCOUNT |
如果要阻止账户创建,可以设置为 true |
HTTP_PORT |
HTTP 服务端口,默认值为 3000 |
HTTPS_PORT |
HTTPS 服务端口,默认值为 8080 |
URL |
运行服务器的 URL,通常不需要更改 |
EMAIL_VERIFICATION |
如果要启用电子邮件验证,可以设置为 true |
EMAIL_DOMAIN |
电子邮件域名,用于发送验证邮件 |
EMAIL_ADDRESS |
发送验证邮件的地址 |
EMAIL_API_KEY |
电子邮件服务的 API 密钥 |
EMAIL_HOST |
电子邮件服务的主机地址 |
REMOTE_URL |
验证电子邮件中发送的 URL,示例:https://mydrive-storage.com |
SECURE_COOKIES |
在 HTTPS 下生成安全 Cookie,建议启用 |
SSL |
如果要启用 SSL,设置为 true |
HTTPS_KEY_PATH |
HTTPS 密钥文件路径,默认情况下 myDrive 在项目根目录查找 |
HTTPS_CA_PATH |
HTTPS CA 证书路径 |
HTTPS_CRT_PATH |
HTTPS 证书路径 |
docker-compose.yml
将下面的内容粘贴到 docker-compose.yml 文件中。这里我们使用了本地端口 3466 来避免冲突。
1 | services: |
注意: 请将 password 替换为您自己的强密码。这里如果修改了,别忘记 env.txt 中的数据库连接也要做对应的修改
启动服务
完成以上配置后,在 mydrive 目录下执行以下命令一键启动:
1 | docker-compose up -d |
运行
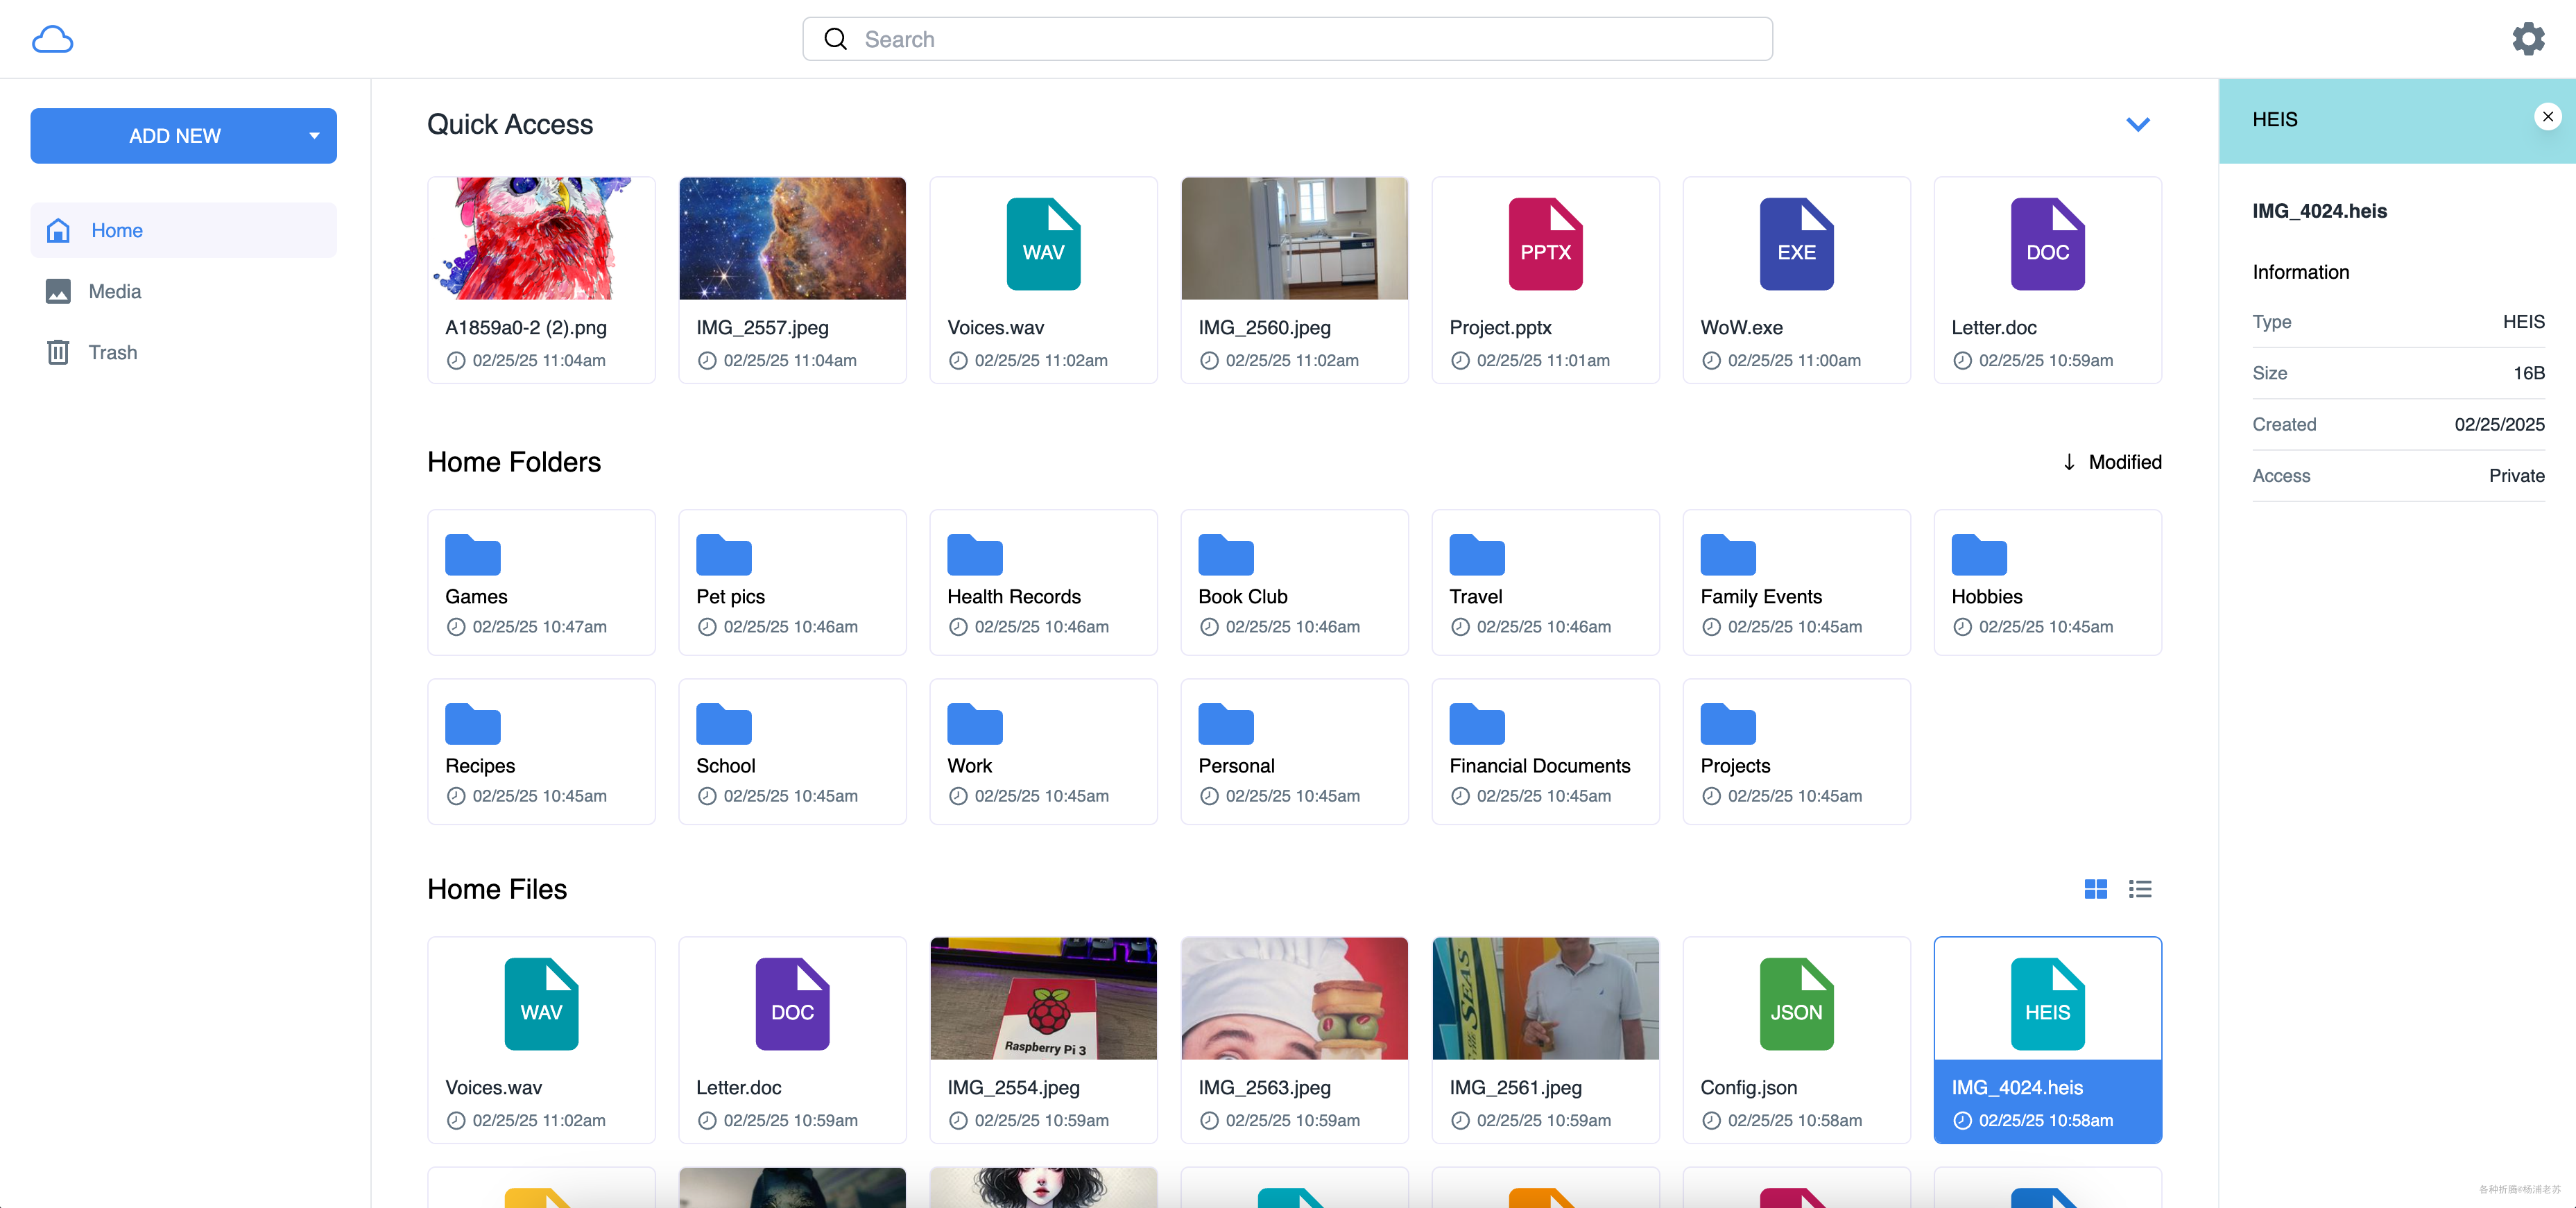
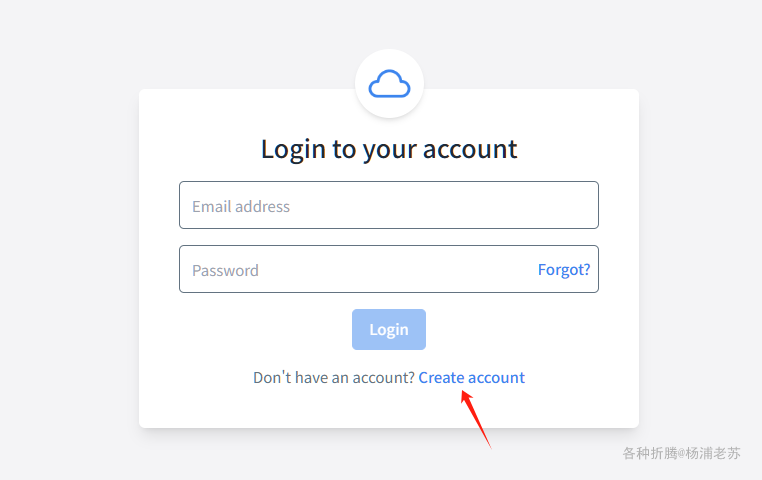
服务启动后,在浏览器中输入 http://群晖IP:3466 就能看到登录界面
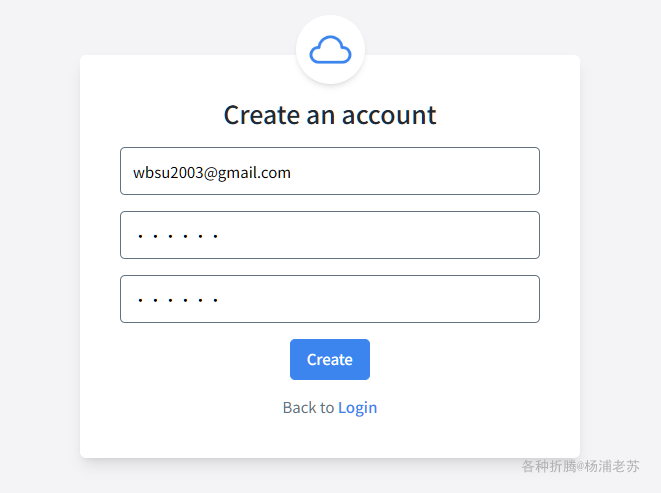
创建你的第一个账户后,即可开始上传和管理你的文件
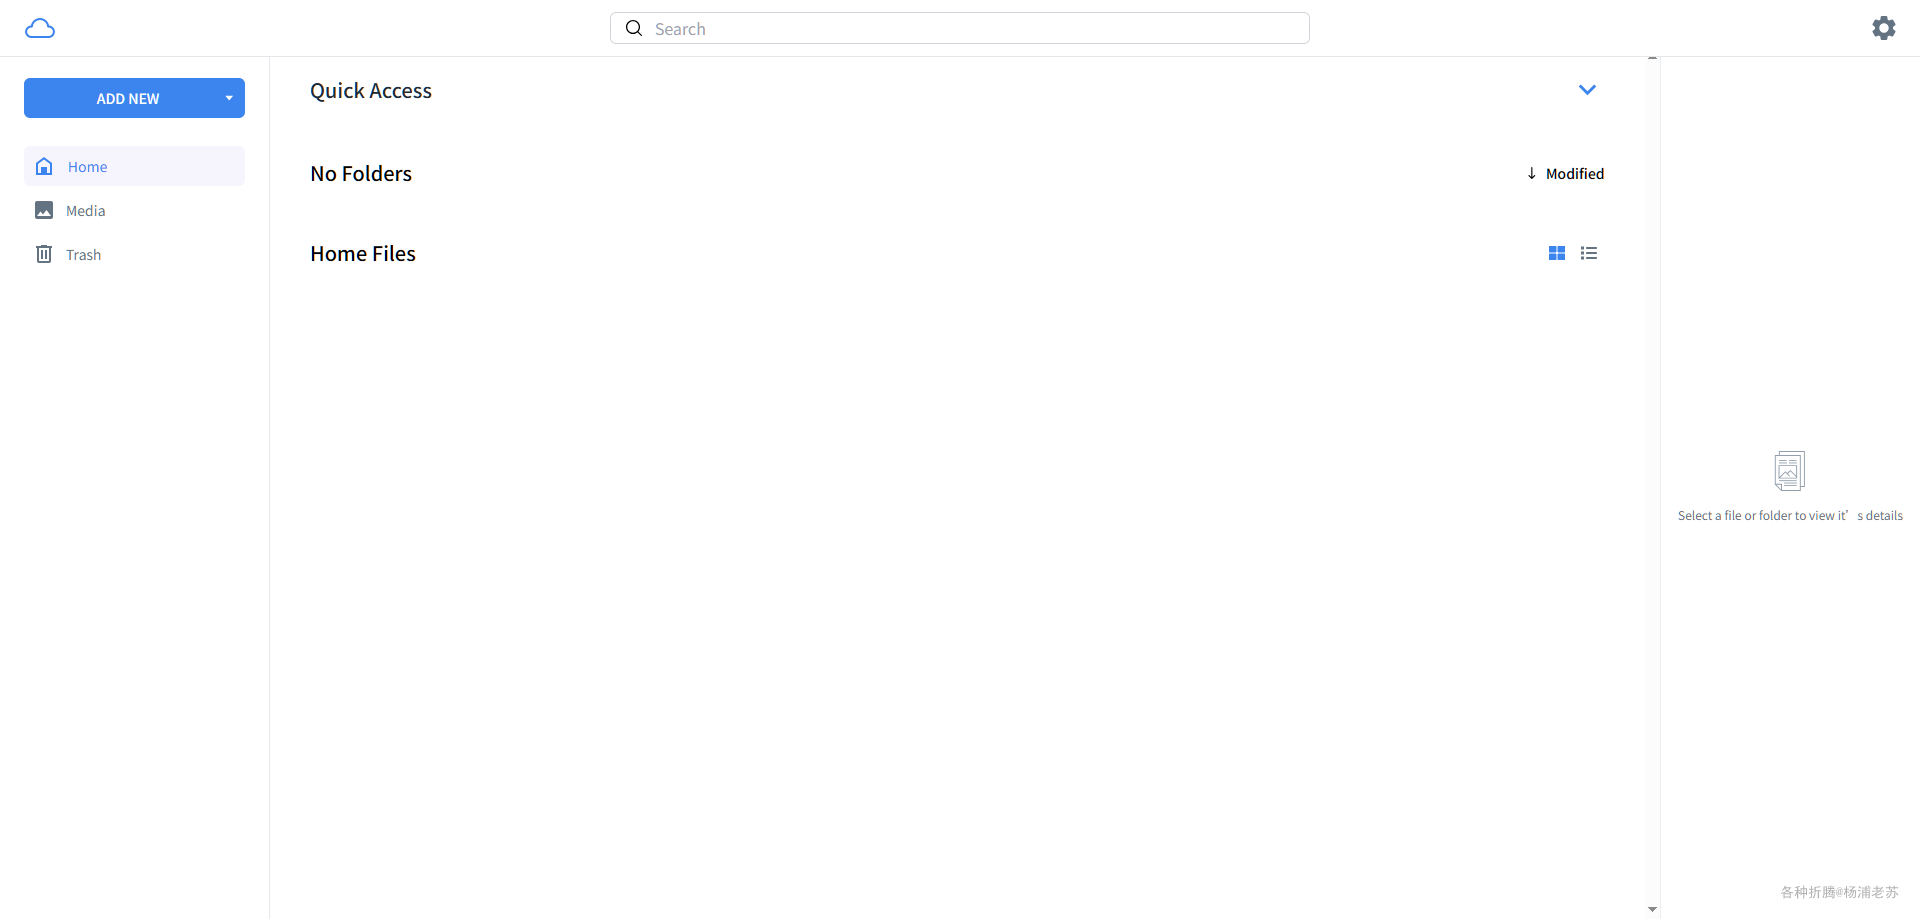
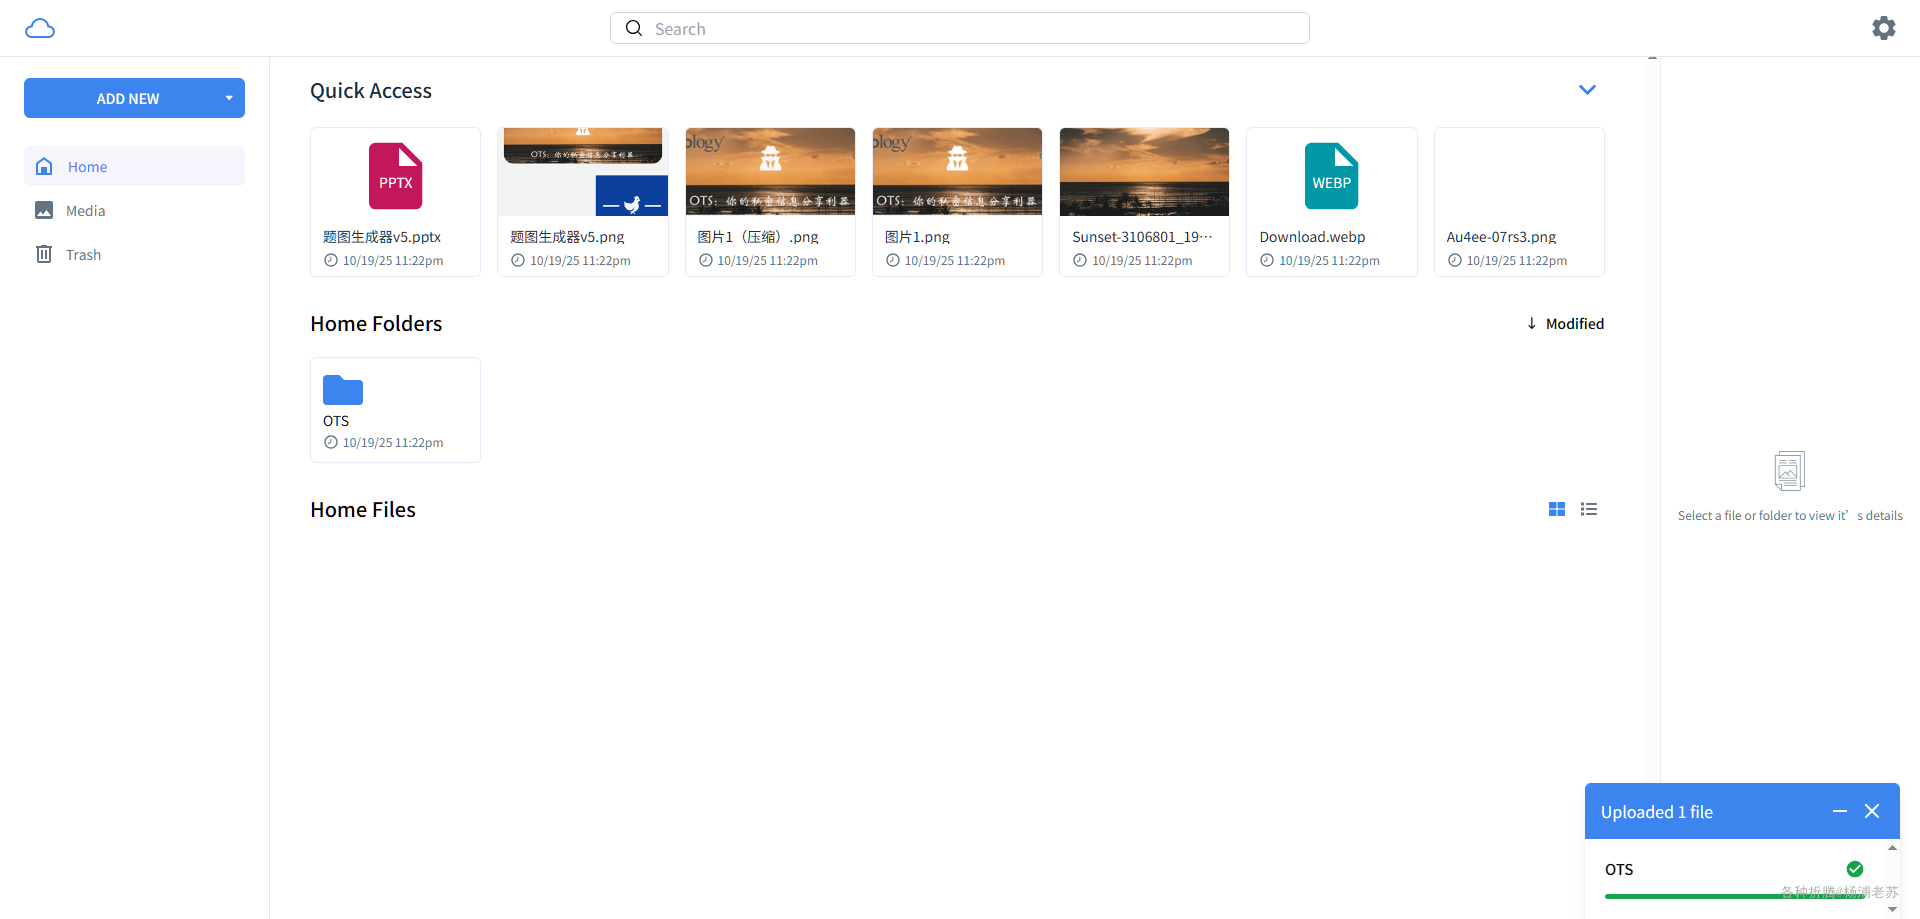
主界面
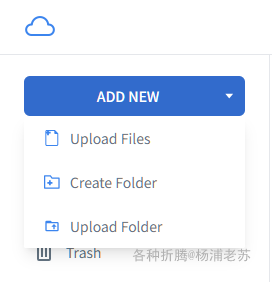
点 ADD NEW 可以上传文件或者文件夹
试了个文件夹
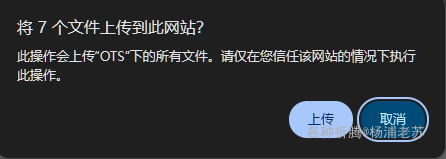
上传成功后
参考文档
subnub/myDrive: Node.js and mongoDB Google Drive Clone
地址:https://github.com/subnub/myDriveMyDrive - Open Source Google Drive Clone (Node, Docker, Amazon S3, MongoDB) : r/selfhosted
地址:https://www.reddit.com/r/selfhosted/comments/1iyqh8d/mydrive_open_source_google_drive_clone_node/