开源一体化协作平台Colanode
简介
什么是 Colanode ?
Colanode是一个开源的、以本地为中心的协作工作空间,旨在提供一个替代Slack和Notion的平台,让用户完全掌控自己的数据。它采用本地优先方法设计,可帮助团队在线或离线沟通、组织和管理项目。可以获得现代协作工具的灵活性,以及拥有数据带来的安心。
主要特点
- 实时聊天:提供即时消息功能,方便团队沟通。
- 丰富文本页面:支持文档、维基和笔记的创建,类似于
Notion的编辑器。 - 可定制数据库:允许组织信息,使用自定义字段和动态视图(如表格、看板、日历)。
- 文件管理:在安全的工作空间内轻松存储、共享和管理文件。
- 本地优先工作流:所有更改首先保存到本地
SQLite数据库,然后同步到服务器,即使在离线状态下也能继续工作。 - 并发编辑:使用
CRDT技术支持实时协作,允许多人同时编辑同一条目。
应用场景
- 团队协作:适合团队管理项目、进行沟通和共享文件。
- 个人工作空间:为个人用户提供一个私密的笔记和任务管理工具。
- 自托管解决方案:用户可以选择自托管
Colanode,完全掌控数据隐私。 - 小型项目管理:适合小型项目或初创公司快速搭建协作平台。

准备
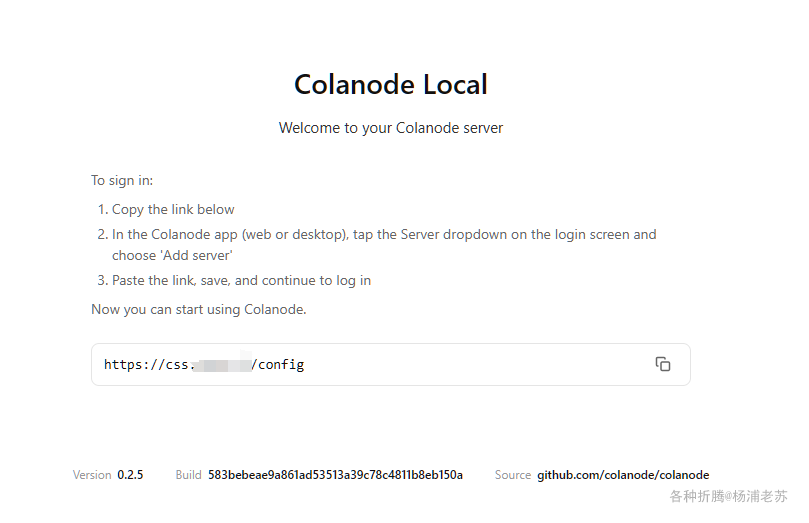
如果像往常一样采用 http://群晖IP:4330 访问网页端,会显示下面这样的页面
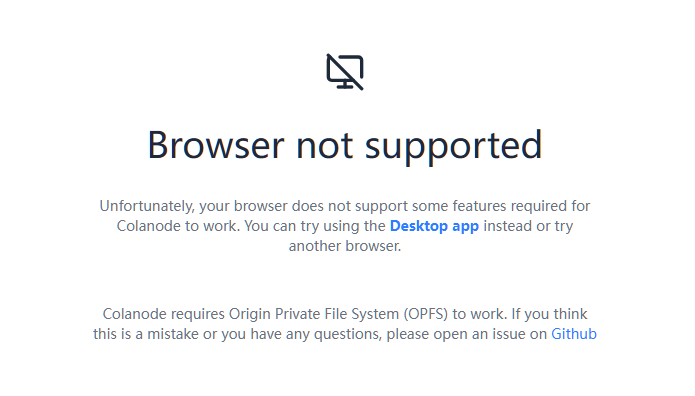
因为 Colanode 使用了 Origin Private File System (OPFS) 存储方案。就是浏览器给每个网站提供的一个私有的、高性能的本地磁盘空间。你可以把它想象成一个内置在浏览器里的、每个网站专属的“虚拟硬盘”。网站可以在这个“硬盘”里存取文件,速度很快,而且不会被其他网站或用户直接访问到,非常安全。
但为了安全起见,Origin Private File System (OPFS) 以及其所属的 File System API 通常要求页面在安全的上下文 (Secure Context) 中运行,这基本上意味着必须使用 HTTPS 协议。
反向代理
准备好两个子域名。
| 域名 | 局域网地址 | 备注 |
|---|---|---|
css.laosu.tech |
http://192.168.0.197:4331 |
colanode_server 的访问地址 |
csc.laosu.tech |
http://192.168.0.197:4330 |
colanode_web 的访问地址 |
没有什么特殊设置,所以就不放图了
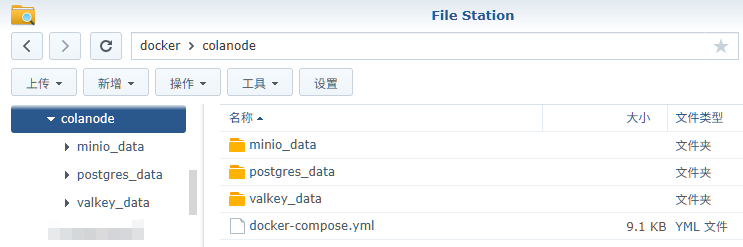
安装
在群晖上以 Docker 方式安装。
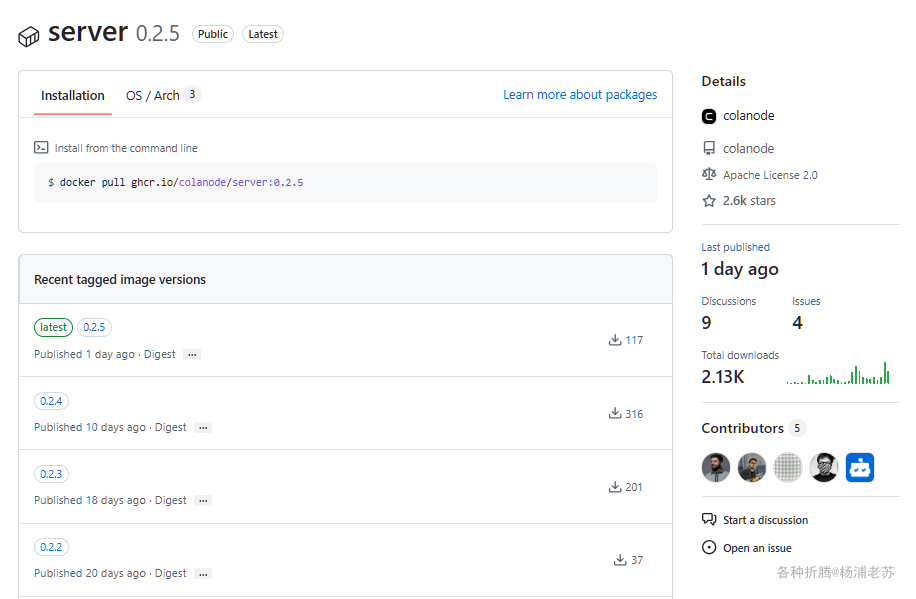
本文写作时,
ghcr.io/colanode/server:latest版本对应为0.2.5;
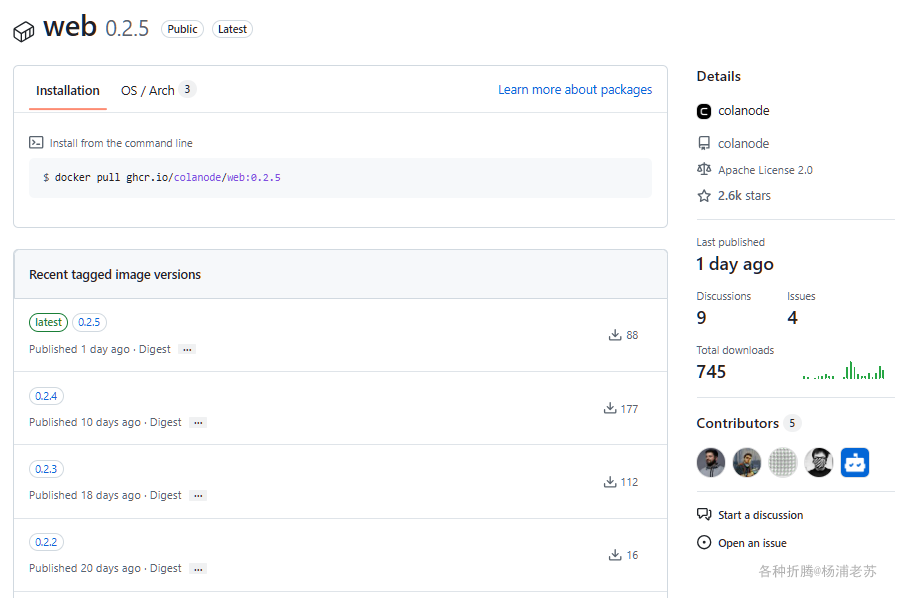
ghcr.io/colanode/web:latest版本对应为0.2.5;
采用 docker-compose 安装,将下面的内容保存为 docker-compose.yml 文件
1 | version: '3.8' |
关于各容器环境变量的简单说明
Postgres容器环境变量
| 环境变量 | 描述 |
|---|---|
POSTGRES_USER |
PostgreSQL 数据库的用户名,默认为 colanode_user。 |
POSTGRES_PASSWORD |
PostgreSQL 数据库用户的密码,默认为 postgrespass123。 |
POSTGRES_DB |
默认创建的数据库名称,默认为 colanode_db。 |
Valkey容器环境变量
| 环境变量 | 描述 |
|---|---|
--requirepass |
Valkey 服务器的访问密码,需自定义,如 your_valkey_password。 |
Minio容器环境变量
| 环境变量 | 描述 |
|---|---|
MINIO_ROOT_USER |
Minio 管理员的用户名,默认为 minioadmin。 |
MINIO_ROOT_PASSWORD |
Minio 管理员的密码,需自定义,如 your_minio_password。 |
MINIO_BROWSER |
启用 Minio 浏览器界面,设为 'on'。 |
MINIO_DOMAIN |
Minio 的域名,默认为 minio。 |
MINIO_ADDRESS |
Minio 监听的地址和端口,默认为 ':9000'。 |
MINIO_CONSOLE_ADDRESS |
Minio 控制台监听的地址和端口,默认为 ':9001'。 |
Server容器环境变量
| 环境变量 | 描述 |
|---|---|
NODE_ENV |
设置运行环境,通常为 production。 |
SERVER_NAME |
服务器名称,显示在桌面应用的登录界面,如 'Colanode Local'。 |
SERVER_AVATAR |
服务器的头像 URL,默认为空。 |
SERVER_MODE |
服务器模式,可能值为 'standalone' 或 'cluster'。 |
SERVER_CORS_ORIGIN |
允许的 CORS 来源,使用逗号分隔多个来源)或使用“*”以允许所有来源。 |
SERVER_CORS_MAX_AGE |
CORS 预检请求的有效期,单位为秒,默认为 '7200'。 |
ACCOUNT_VERIFICATION_TYPE |
账户验证类型,可能值为 'automatic'、'manual' 或 'email'。 |
ACCOUNT_OTP_TIMEOUT |
OTP 超时时间,单位为秒,默认为 '600'。 |
USER_STORAGE_LIMIT |
用户存储限制,默认为 10 GB(10737418240 字节)。 |
USER_MAX_FILE_SIZE |
用户最大文件大小,默认为 100 MB(104857600 字节)。 |
POSTGRES_URL |
PostgreSQL 数据库连接字符串,格式为 postgres://<user>:<password>@<host>:<port>/<dbname>。 |
REDIS_URL |
Redis 连接字符串,格式为 redis://<password>@<host>:<port>/0。 |
REDIS_DB |
Redis 数据库,默认为 '0'。 |
STORAGE_S3_ENDPOINT |
S3 兼容存储的端点 URL,默认为 http://minio:9000。 |
STORAGE_S3_ACCESS_KEY |
S3 访问密钥,默认为 minioadmin。 |
STORAGE_S3_SECRET_KEY |
S3 秘密访问密钥,需自定义,如 your_minio_password。 |
STORAGE_S3_BUCKET |
S3 存储桶名称,默认为 colanode。 |
STORAGE_S3_REGION |
S3 存储区域,默认为 us-east-1。 |
STORAGE_S3_FORCE_PATH_STYLE |
强制使用路径样式,默认为 'true'。 |
SMTP_ENABLED |
启用 SMTP 配置,默认为 'false'。 |
AI_ENABLED |
启用 AI 集成,默认为 'false'。 |
然后执行下面的命令
1 | # 新建文件夹 colanode 和 子目录 |
运行
在浏览器中输入服务端地址: https://css.laosu.tech,复制下来,一会儿客户端设置会用到
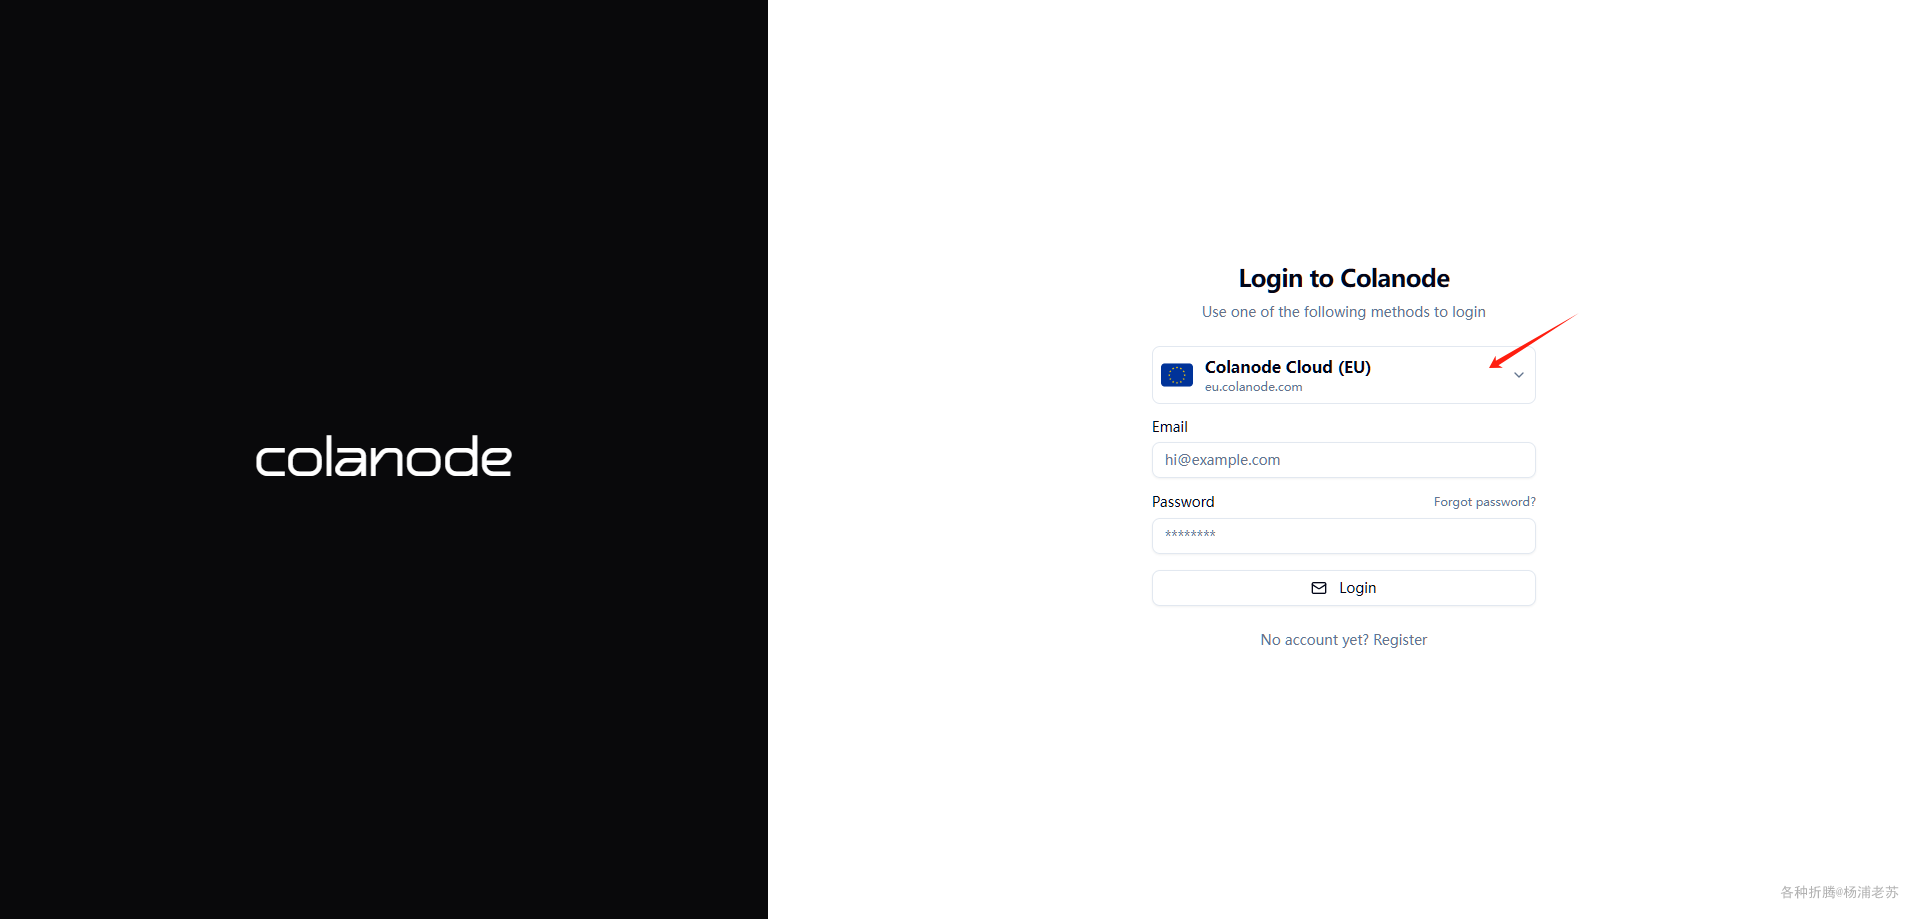
在浏览器中输入客户端地址: https://csc.laosu.tech
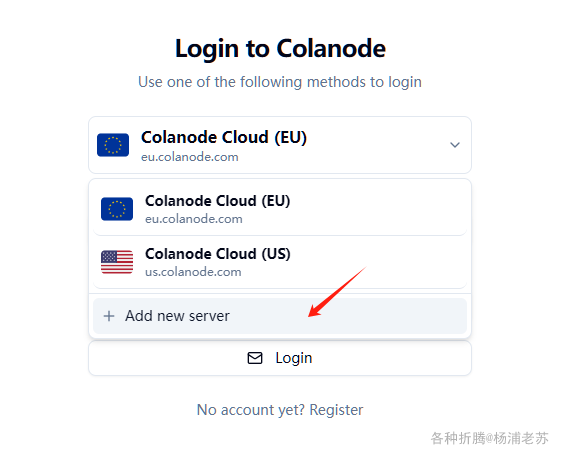
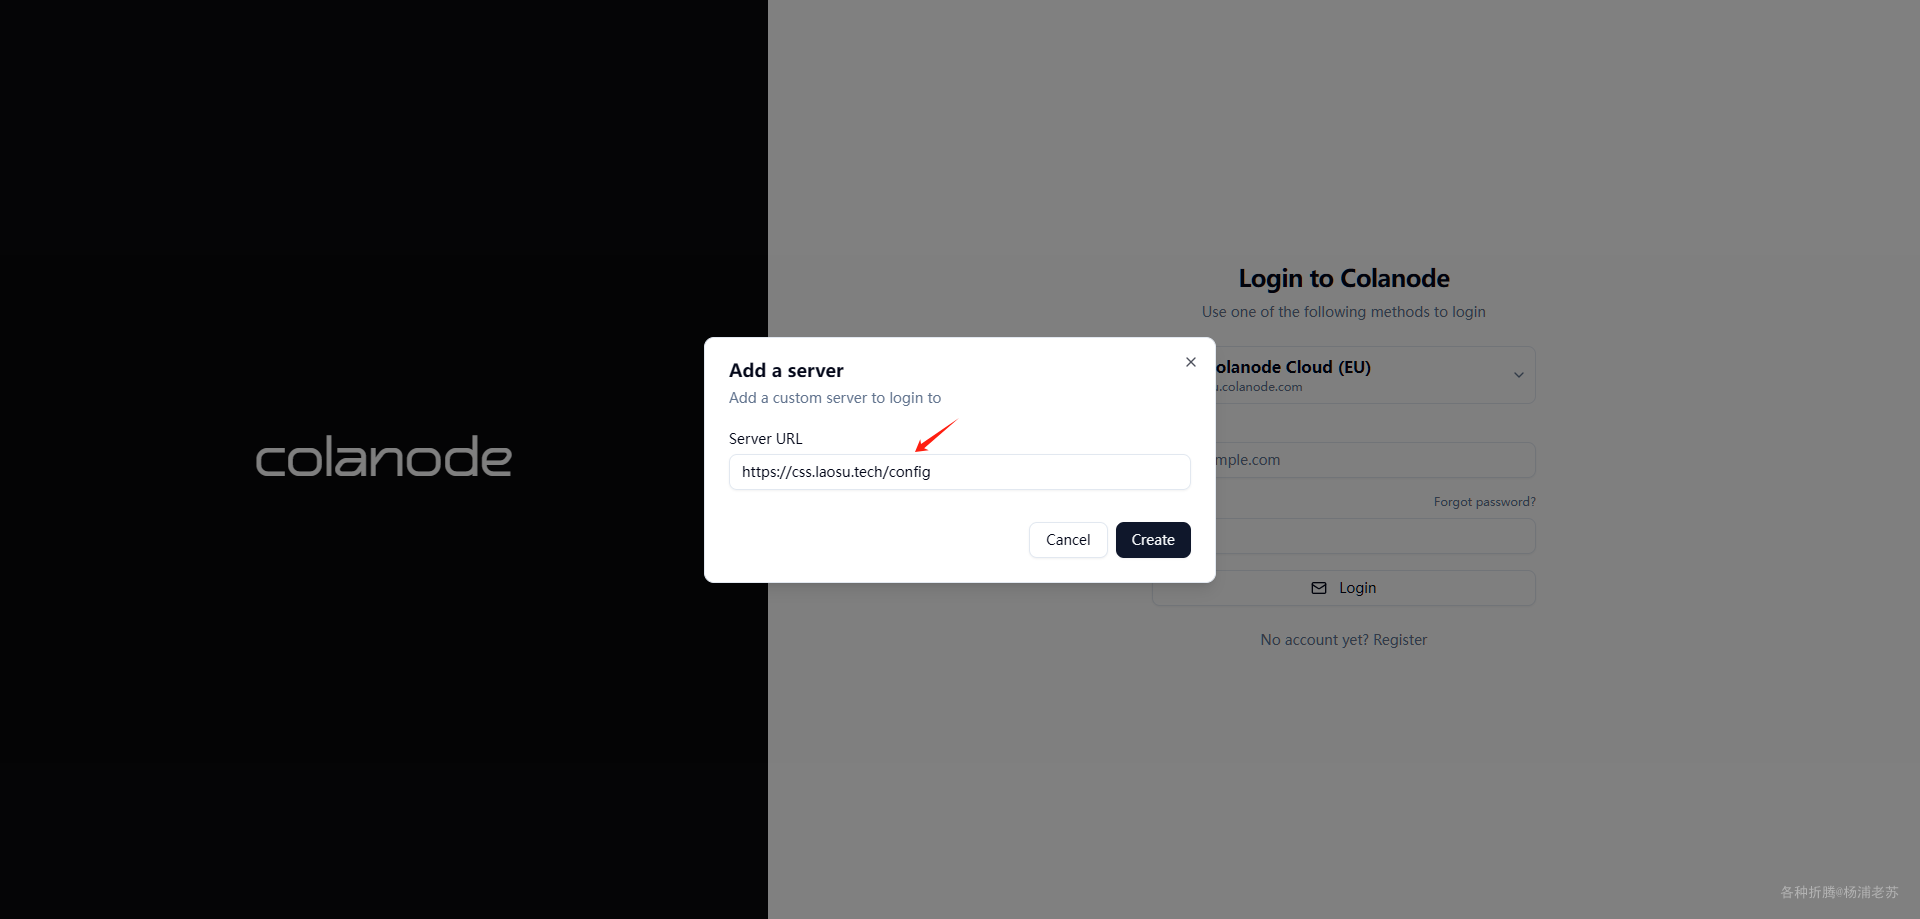
点 Add new server
填入服务器地址,点 Create
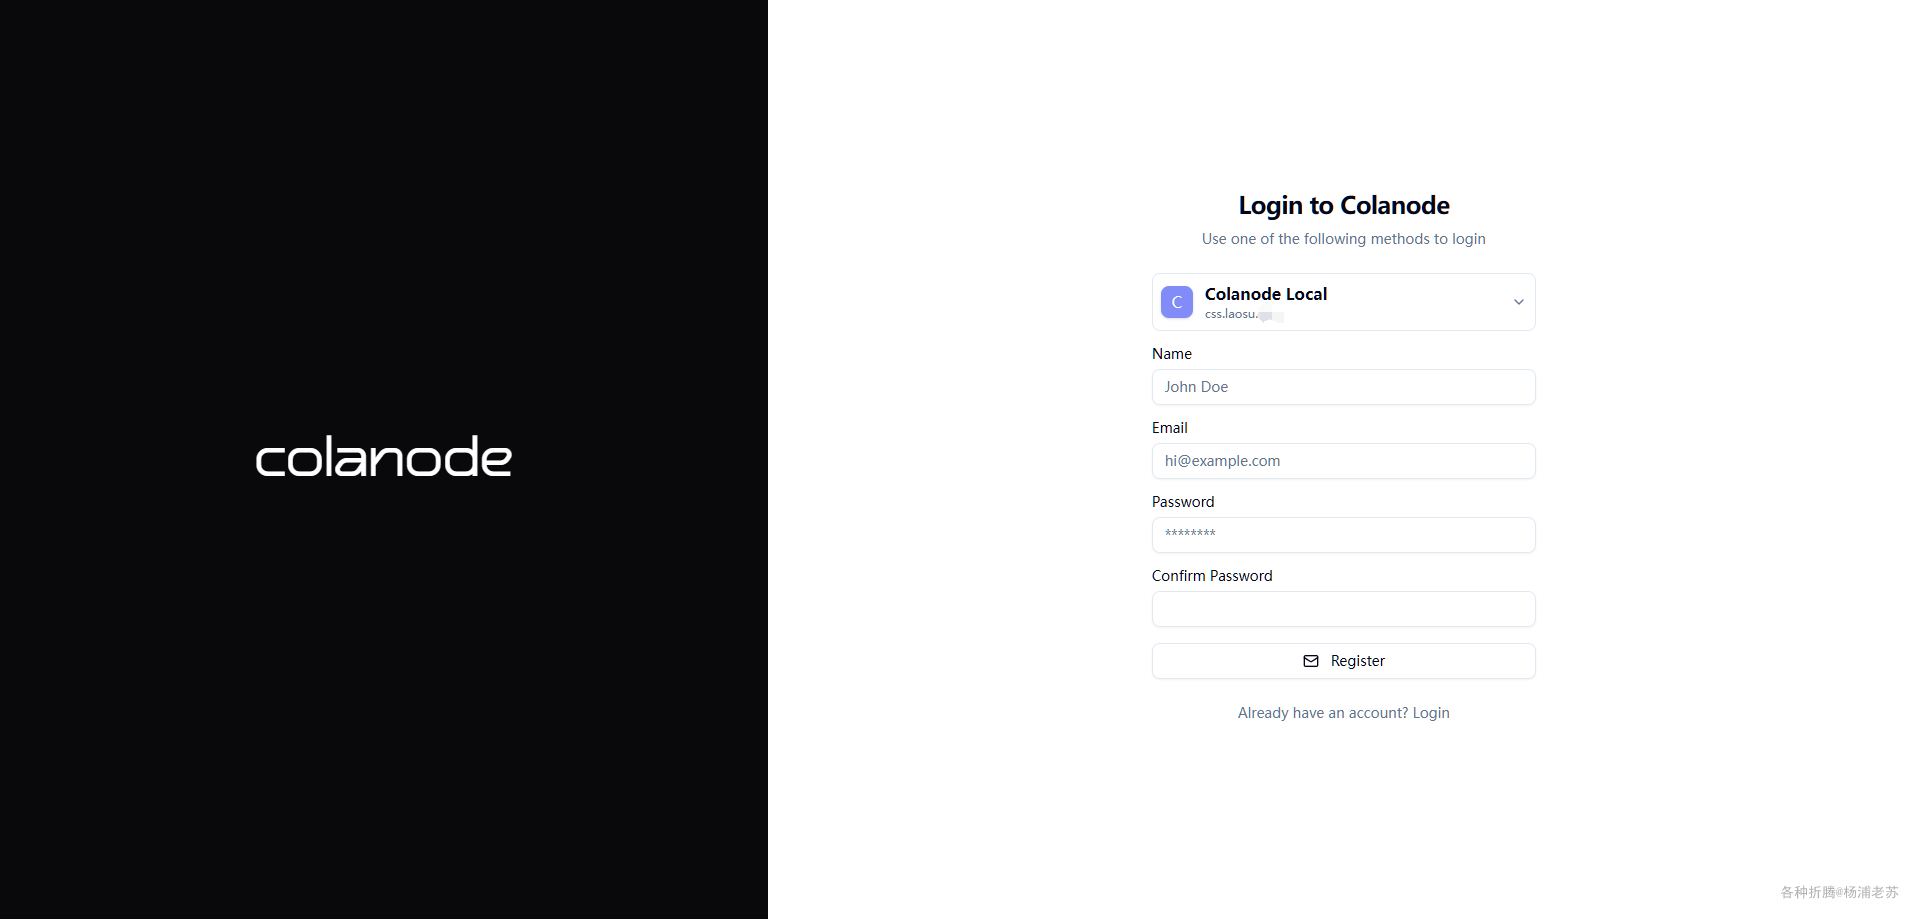
添加完成后,下拉列表中会多出一个 Colanode Local

选择我们自己的服务器后,就可以注册账号了
注册成功后的主界面
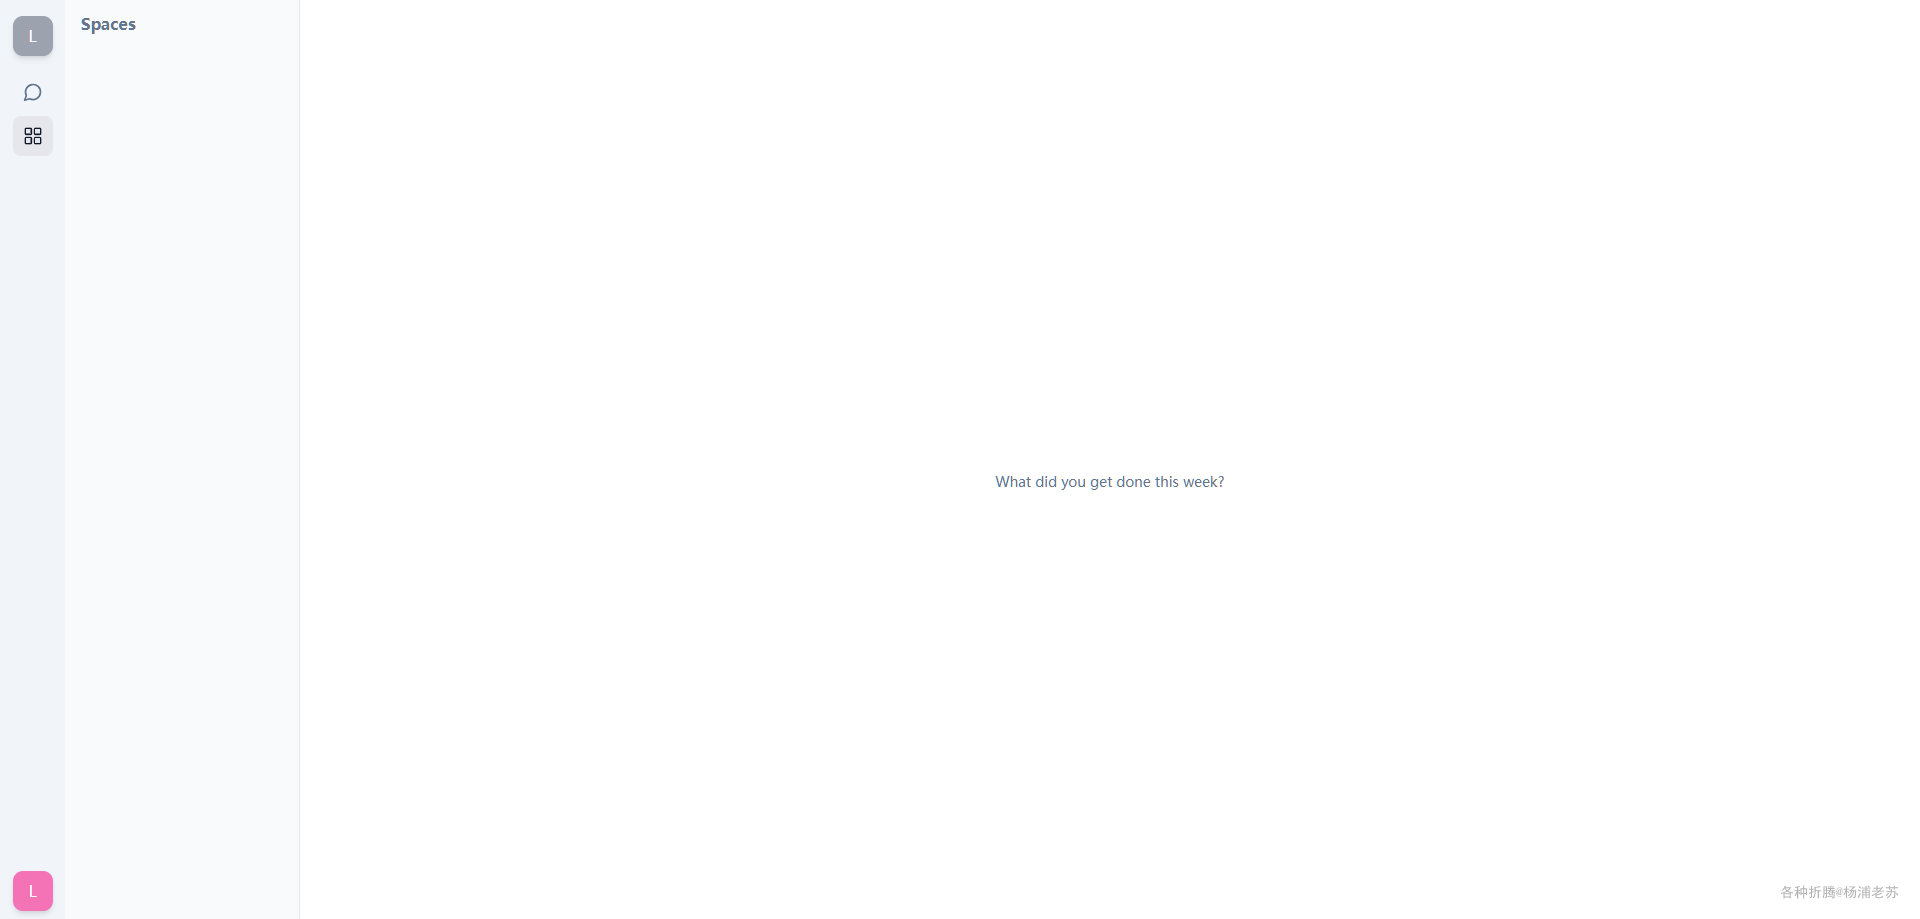
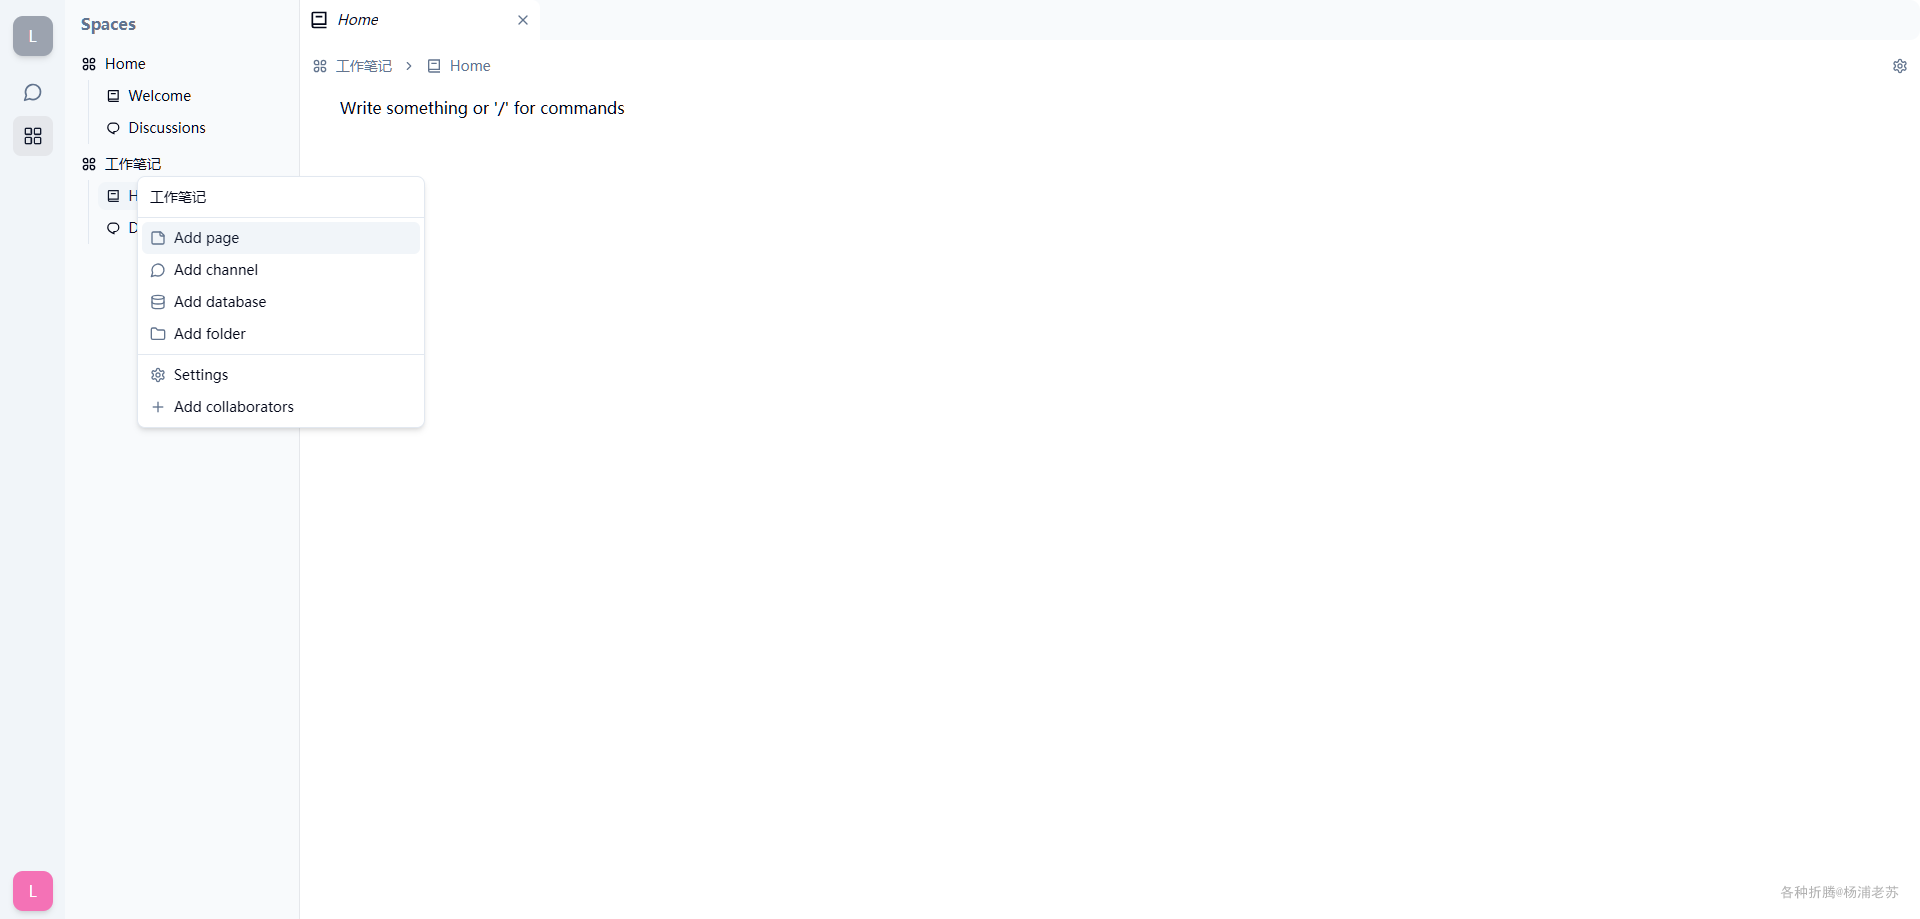
接下来就可以建 space、page 、channel 等
除了网页版之外还支持多个操作系统的桌面客户端
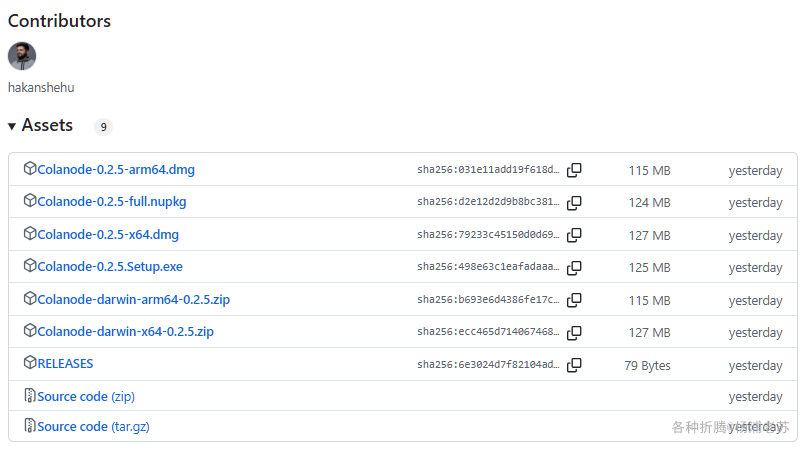
使用比较简单,可以看看官方的动图
参考文档
colanode/colanode: Open-source and local-first Slack and Notion alternative that puts you in control of your data
地址:https://github.com/colanode/colanodeColanode - Open-source & local-first Slack and Notion alternative
地址:https://colanode.com/