
Gotify消息推送系统搭建
昨天网友 sincoslong 提到了一个很好的建议:
docker 注册表版本别选择 latest 选择具体版本号。
有的新版本,数据库、 php 各种依赖,都升级。小白如果选择最近更新的版本,估计写个 blog 都是记录如何失败的。
虽然有的人也会看看你发布日期,看看当时什么版本。但是有的没有历史版本了。基本就不能照葫芦画瓢操作了。
老苏虚心接受,其实老苏之前也想过这个问题,写 latest 主要是图个方便省事。
从本文开始改正,对于建议前已完成的稿件,老苏会添加版本说明;对于建议之后开始撰写的稿件,直接选择具体的版本号,感谢 sincoslong !
什么是 Gotify ?
Gotify是一个简单的消息推送服务器,用于通过WebSocket实时发送和接收消息。(包括一个时尚的网络用户界面)
老苏之前写过推送系统 ntfy.sh,这两个都是使用 golang 开发的推送系统,老苏没有深入研究,直观感觉就是 Gotify 不需要像 ntfy.sh 去订阅 ,而且似乎也不支持 iOS 客户端
文章传送门:无需注册的通知服务ntfy
安装
在群晖上以 Docker 方式安装。
在注册表中搜索 gotify ,选择第一个 gotify/server,版本选择 latest。
本文写作时,
latest版本对应为2.2.2;

卷
在 docker 文件夹中,创建一个新文件夹 gotify,并在其中建一个子文件夹 data
| 文件夹 | 装载路径 | 说明 |
|---|---|---|
docker/gotify/data |
/app/data |
存放数据库等 |

端口
本地端口不冲突就行,不确定的话可以用命令查一下
1 | # 查看端口占用 |
| 本地端口 | 容器端口 |
|---|---|
8385 |
80 |

环境
| 可变 | 值 |
|---|---|
GOTIFY_DEFAULTUSER_NAME |
后台管理员账号 |
GOTIFY_DEFAULTUSER_PASS |
后台管理员密码 |
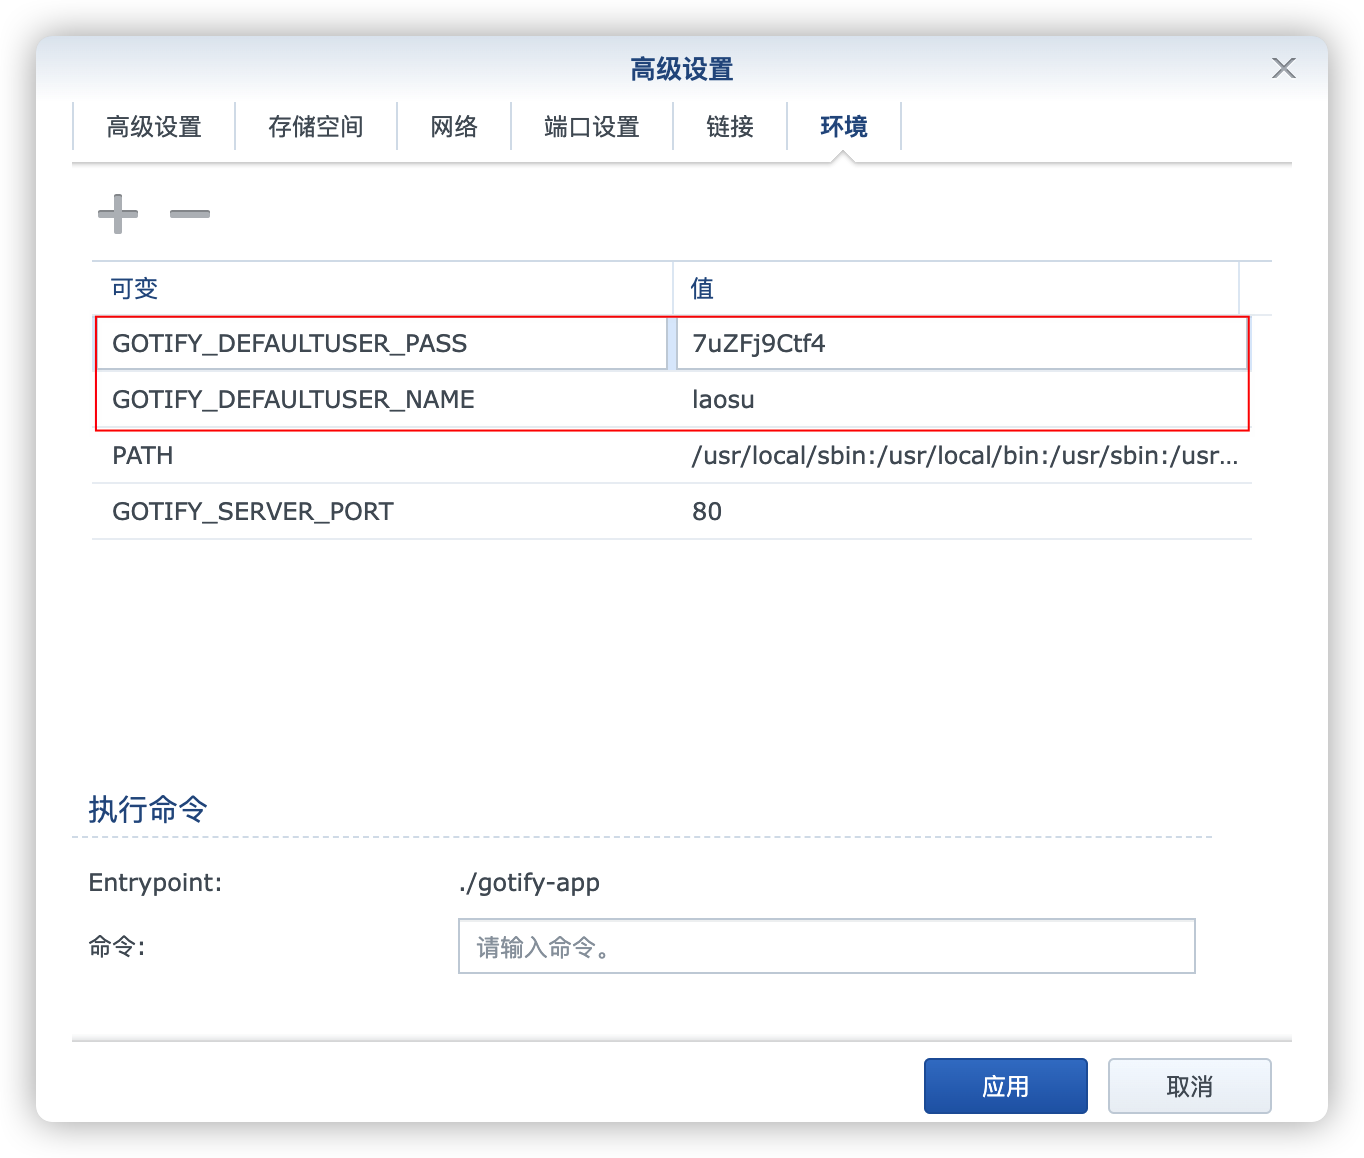
更多的环境变量请看官方文档:https://gotify.net/docs/config#environment-variables
命令行安装
如果你熟悉命令行,可能用 docker cli 更快捷
1 | # 新建文件夹 gotify 和 子目录 |
也可以用 docker-compose 安装,将下面的内容保存为 docker-compose.yml 文件
1 | version: "3" |
然后执行下面的命令
1 | # 新建文件夹 gotify 和 子目录 |
运行
在浏览器中输入 http://群晖IP:8385 就能看到登录界面

用前面设置的 GOTIFY_DEFAULTUSER_NAME 和 GOTIFY_DEFAULTUSER_PASS 登录,成功后的主界面
如果你没设置,可以用默认的
admin/admin

推送消息
从右上方的 apps –> Create Application,创建一个应用

创建成功之后,点眼睛按钮,可以看到 Token 的值,这个后面会用到

尝试发送一条消息,在 SSH 客户中直接执行下面的命令
1 | # 格式 |

回到网页

官方文档详细介绍及各个语言调用例子:https://gotify.net/docs/pushmsg
反向代理
如果要远程使用,需要做反代处理,还是以 npm 为例
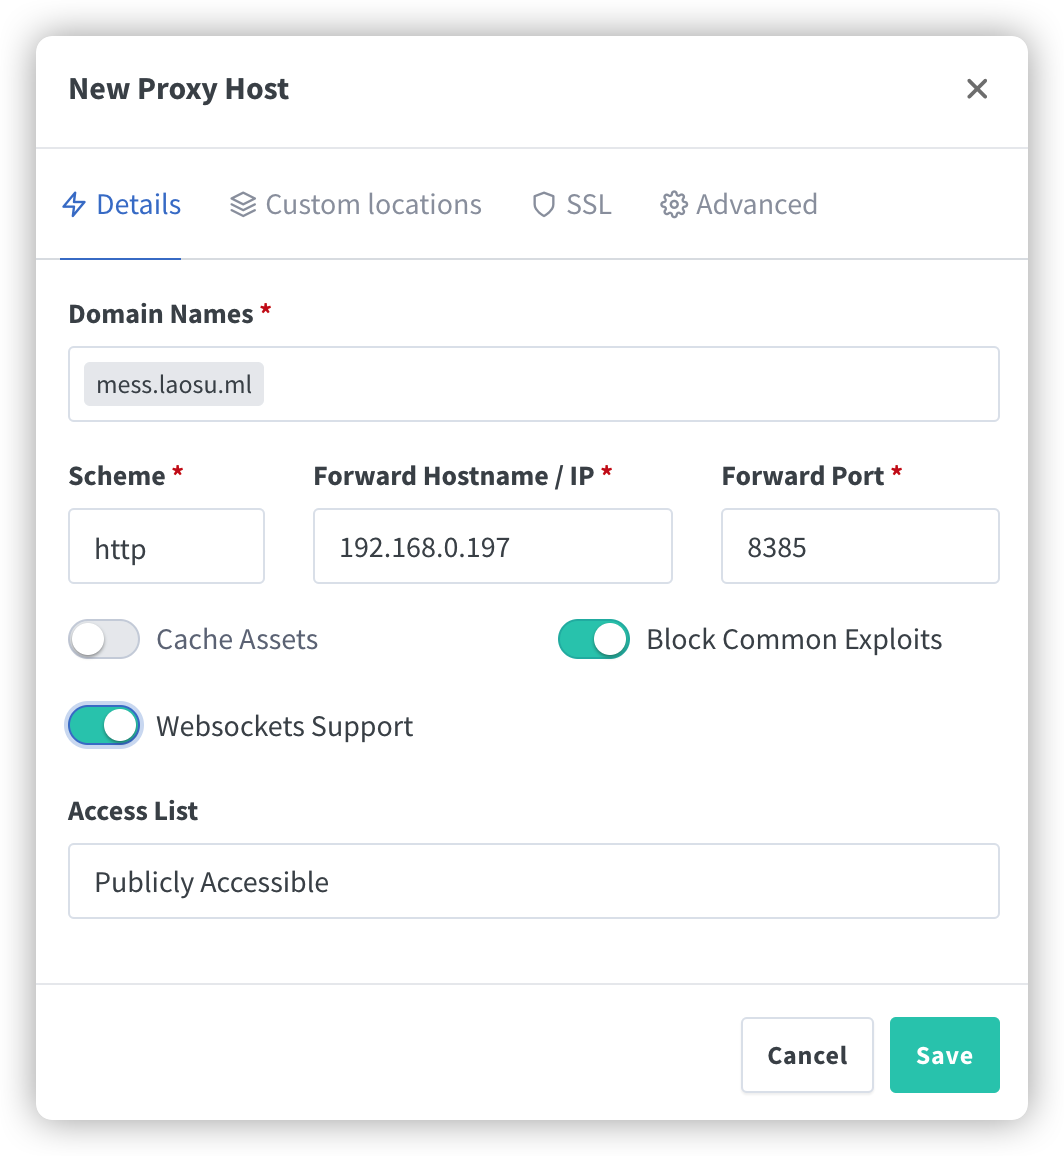
老苏还是习惯全部勾选

除了上面的,还需要在 Advanced 中添加下面的代码,否则网页端会不能登录
1 | location / { |

现在你可以尝试用域名发消息了
1 | # 域名示例 |
如果出现下面👇这样的问题
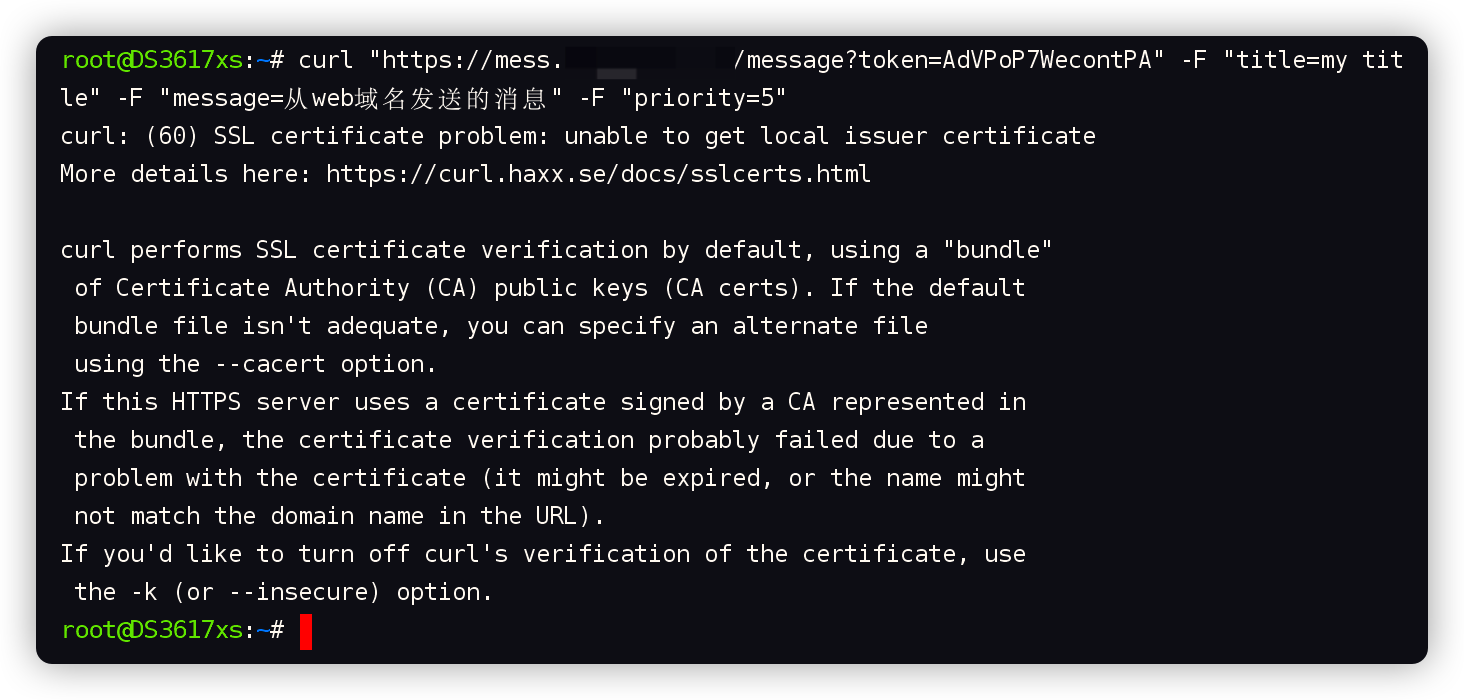
添加 -k 参数,用于忽略证书验证就可以了
1 | # 域名示例(忽略证书验证) |

想深入了解 SSL 证书验证,可以看:https://curl.se/docs/sslcerts.html
启用
https协议后访问Web后台 ,可以设置网页消息提醒
移动端
似乎只有 Android 客户端,可以在下面两个地址下载:
- https://github.com/gotify/android/releases
- https://f-droid.org/zh_Hans/packages/com.github.gotify

包非常小,跟现在动则几百兆的应用形成了鲜明的对比
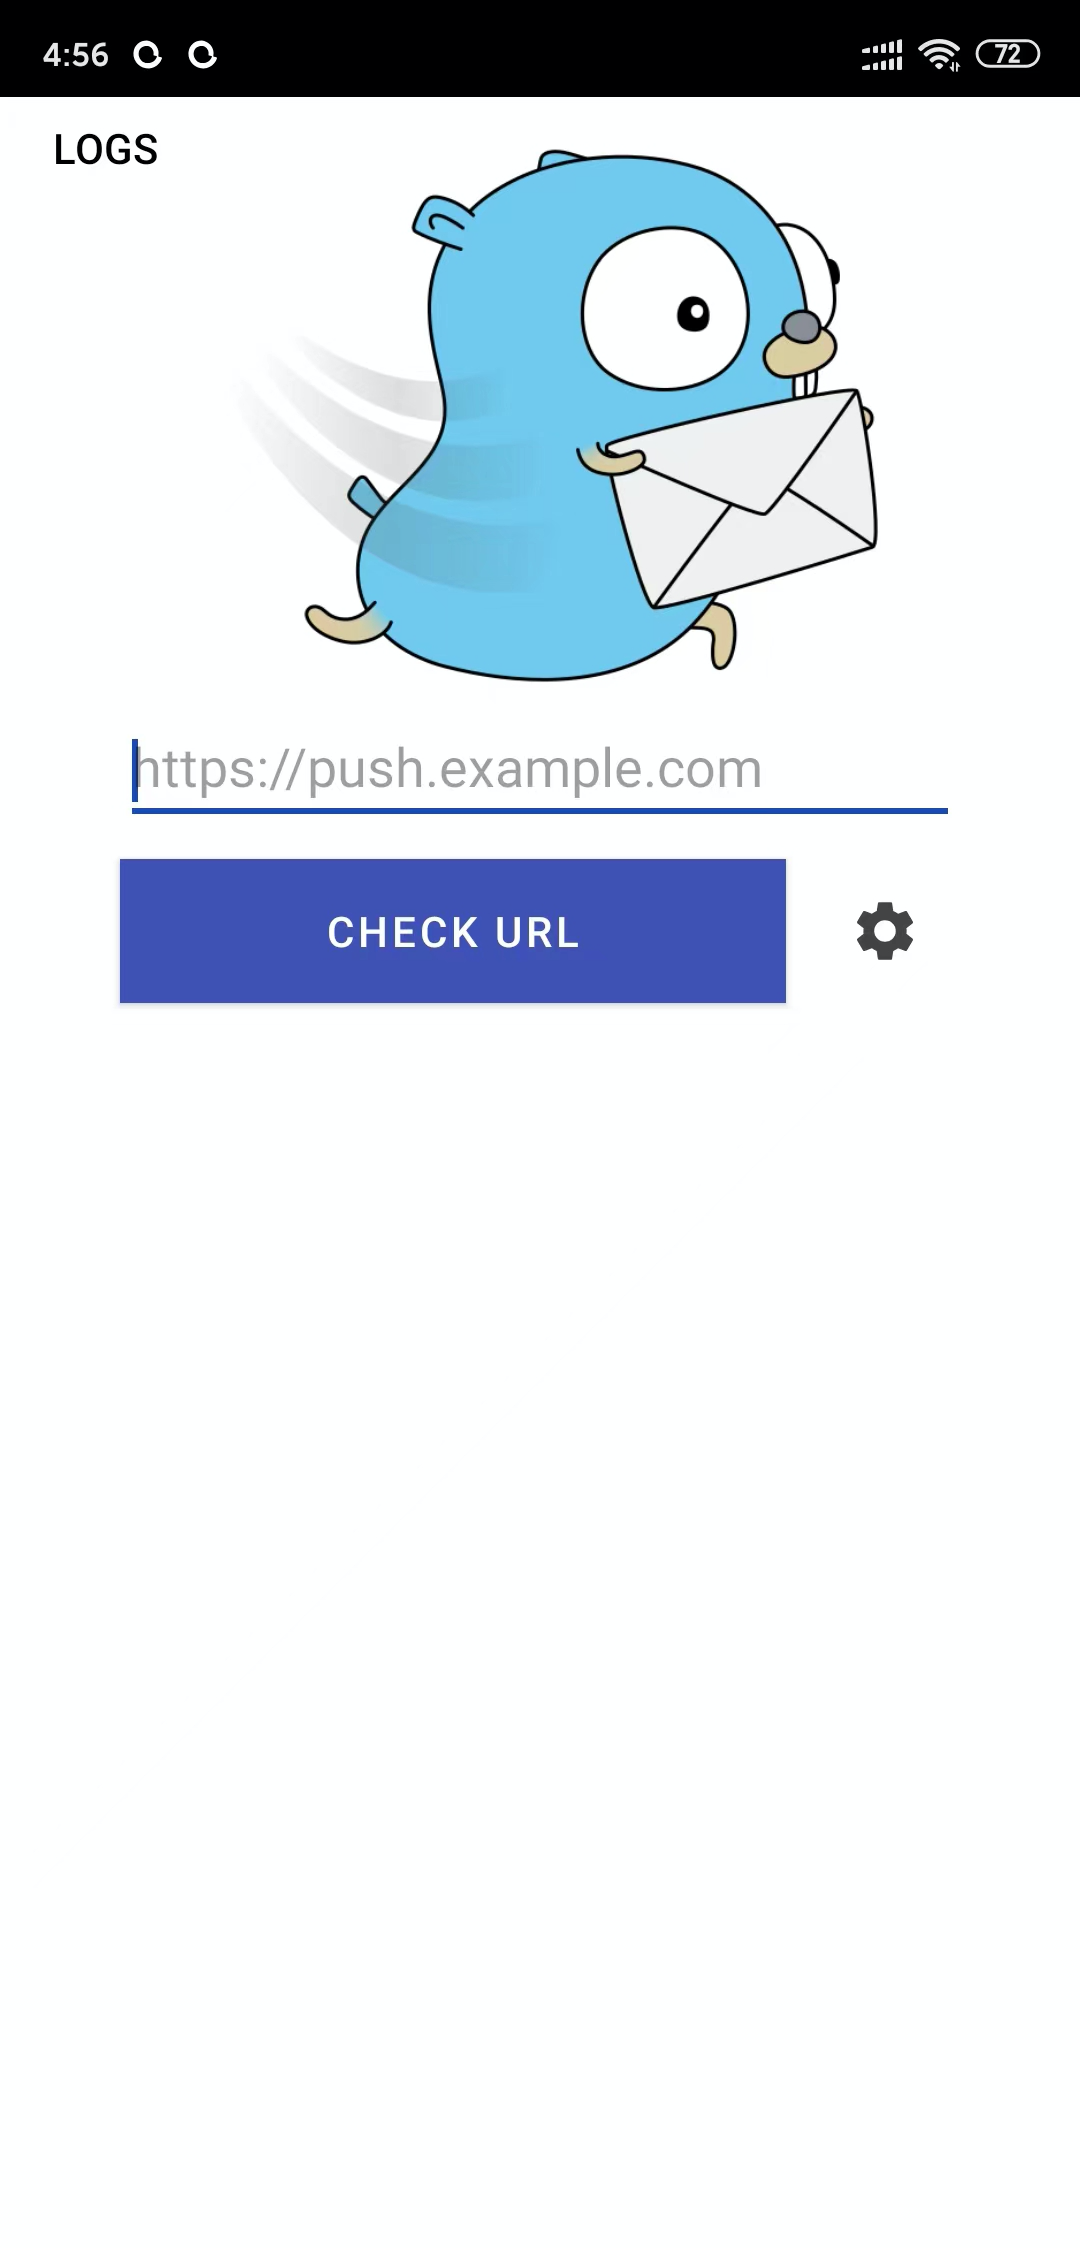
输入服务器地址,点 CHECK URL,如果连接成功会显示服务端的版本,并需要登录

如果有问题,可以尝试在设置中勾选 Disble SSL Validation

设置完客户端名称后,就可以看到之前发送的消息了

Android 端还可以发送消息

参数是一样的

发送成功

回到网页

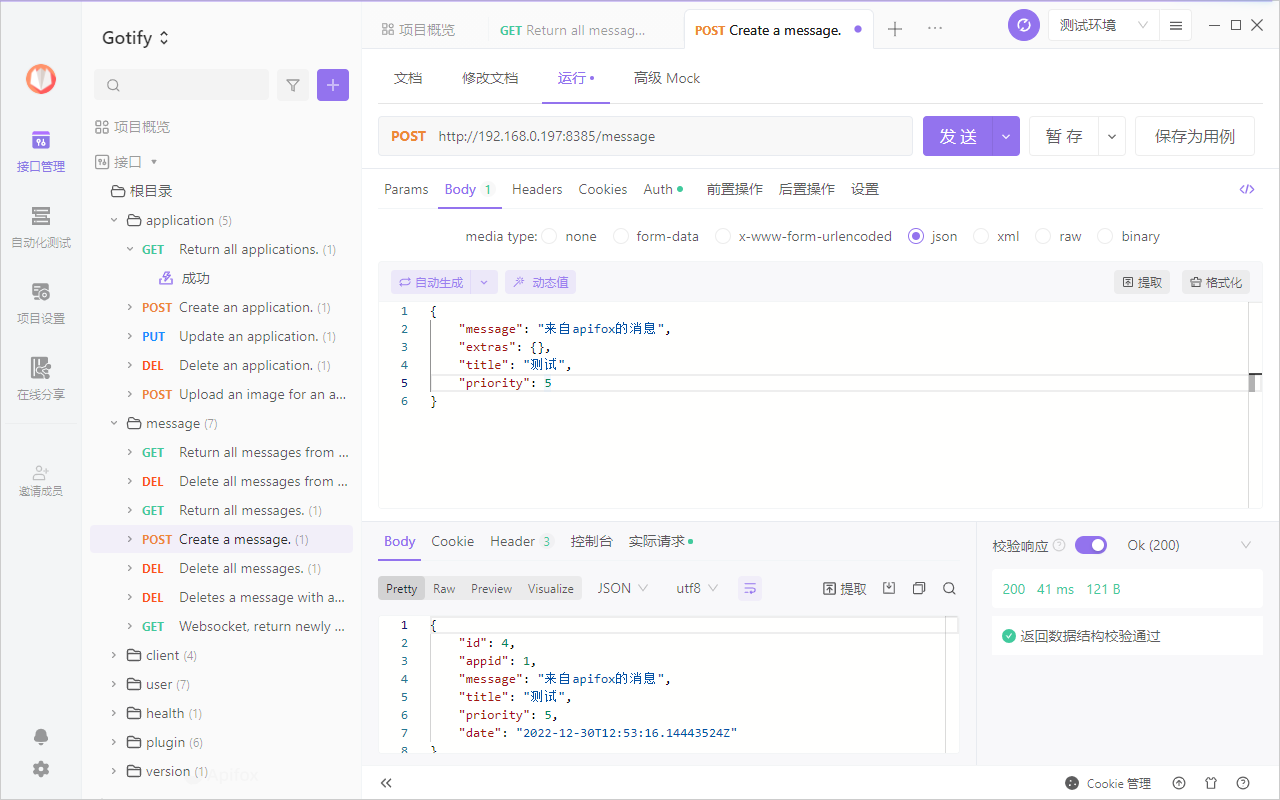
接口文档
Gotify 提供了完善的 REST-API 文档:https://gotify.github.io/api-docs
将 spec.json 导入 apifox,可以测试收消息
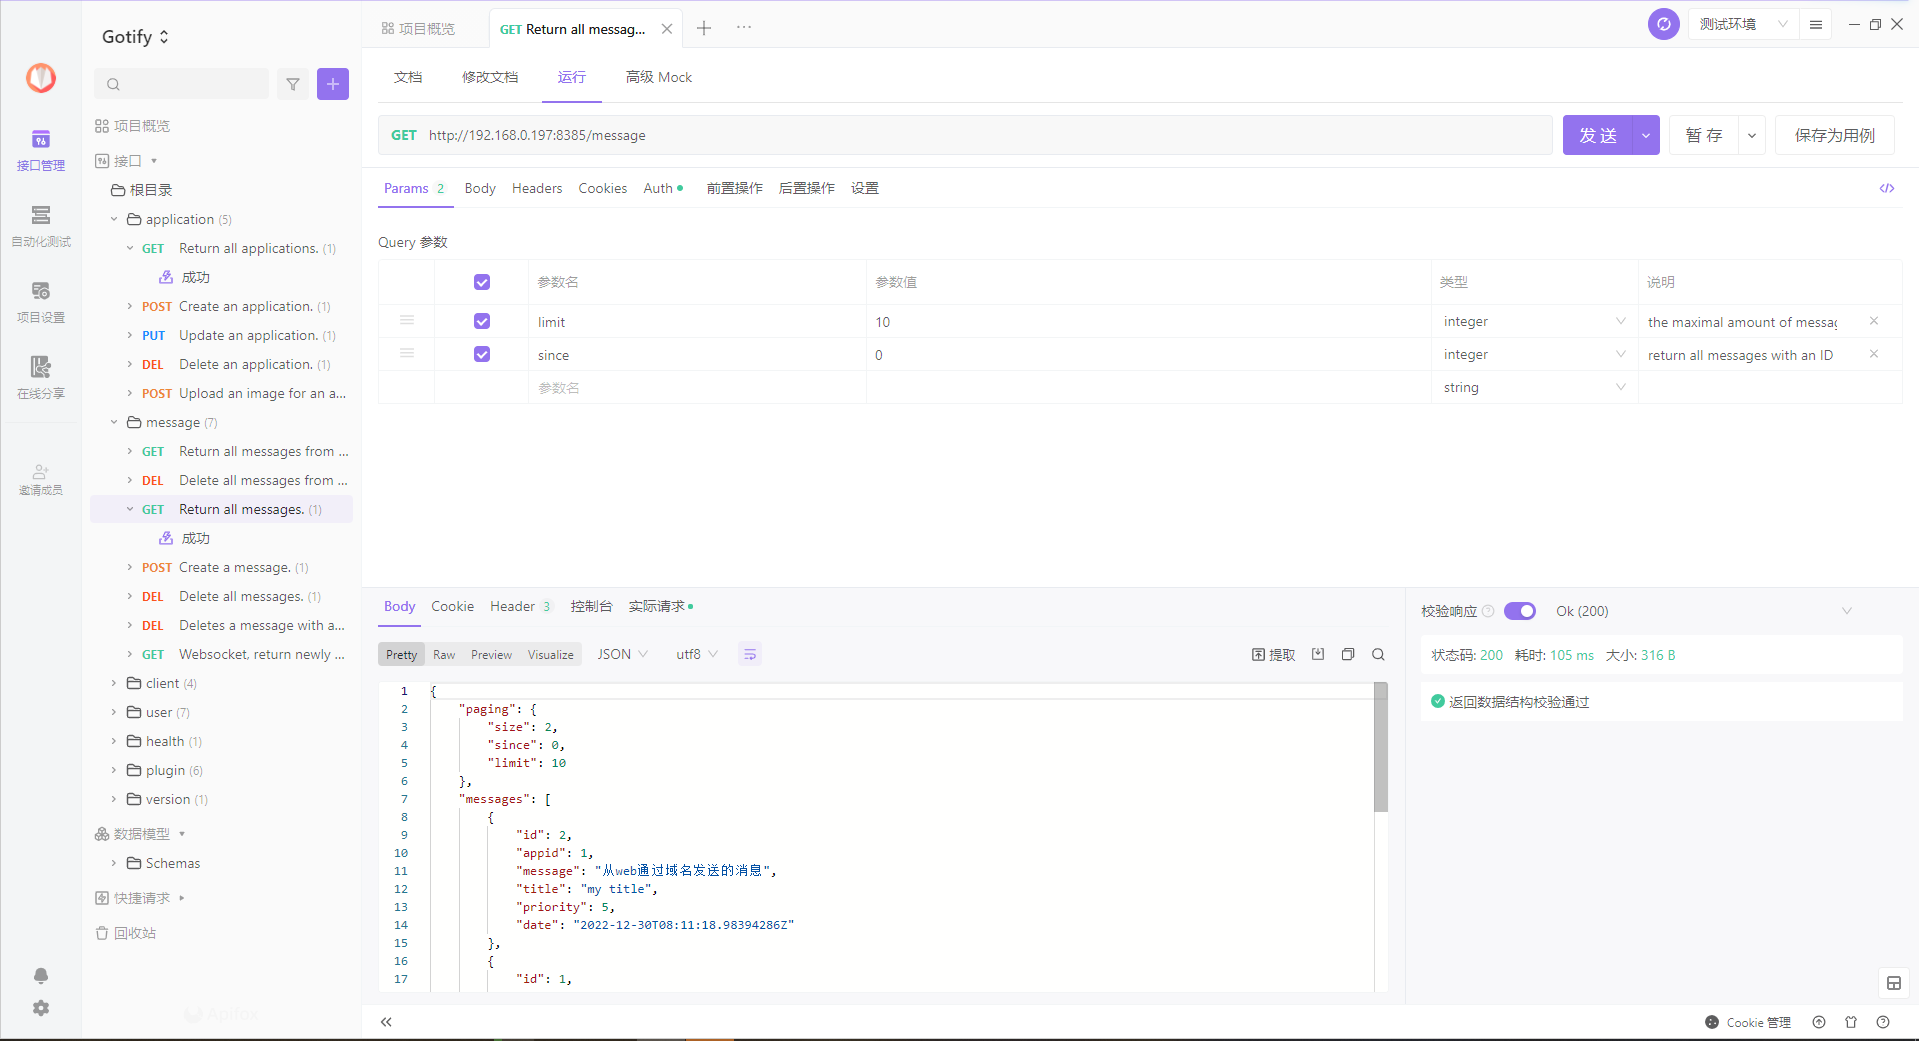
也可以发
回到网页

参考文档
gotify/server: A simple server for sending and receiving messages in real-time per WebSocket. (Includes a sleek web-ui)
地址:https://github.com/gotify/serverGotify · a simple server for sending and receiving messages
地址:https://gotify.net/Installation · Gotify
地址:https://gotify.net/docs/install